[ad_1]
Setting up event registration for the first time can feel like a bigger task than it is. There are a lot of moving parts: the payment gateway, the tickets, the form, the website, the access settings, the confirmation emails, and the AI concierge. If you approach them in the wrong order, you end up doing things twice.
This guide walks through the setup process in the correct sequence, based on how EventMobi Core Registration is designed to be configured. Follow the steps in order and you will have a fully functioning registration up and running well before your event date.
Step 1: Configure Your Payment Gateway
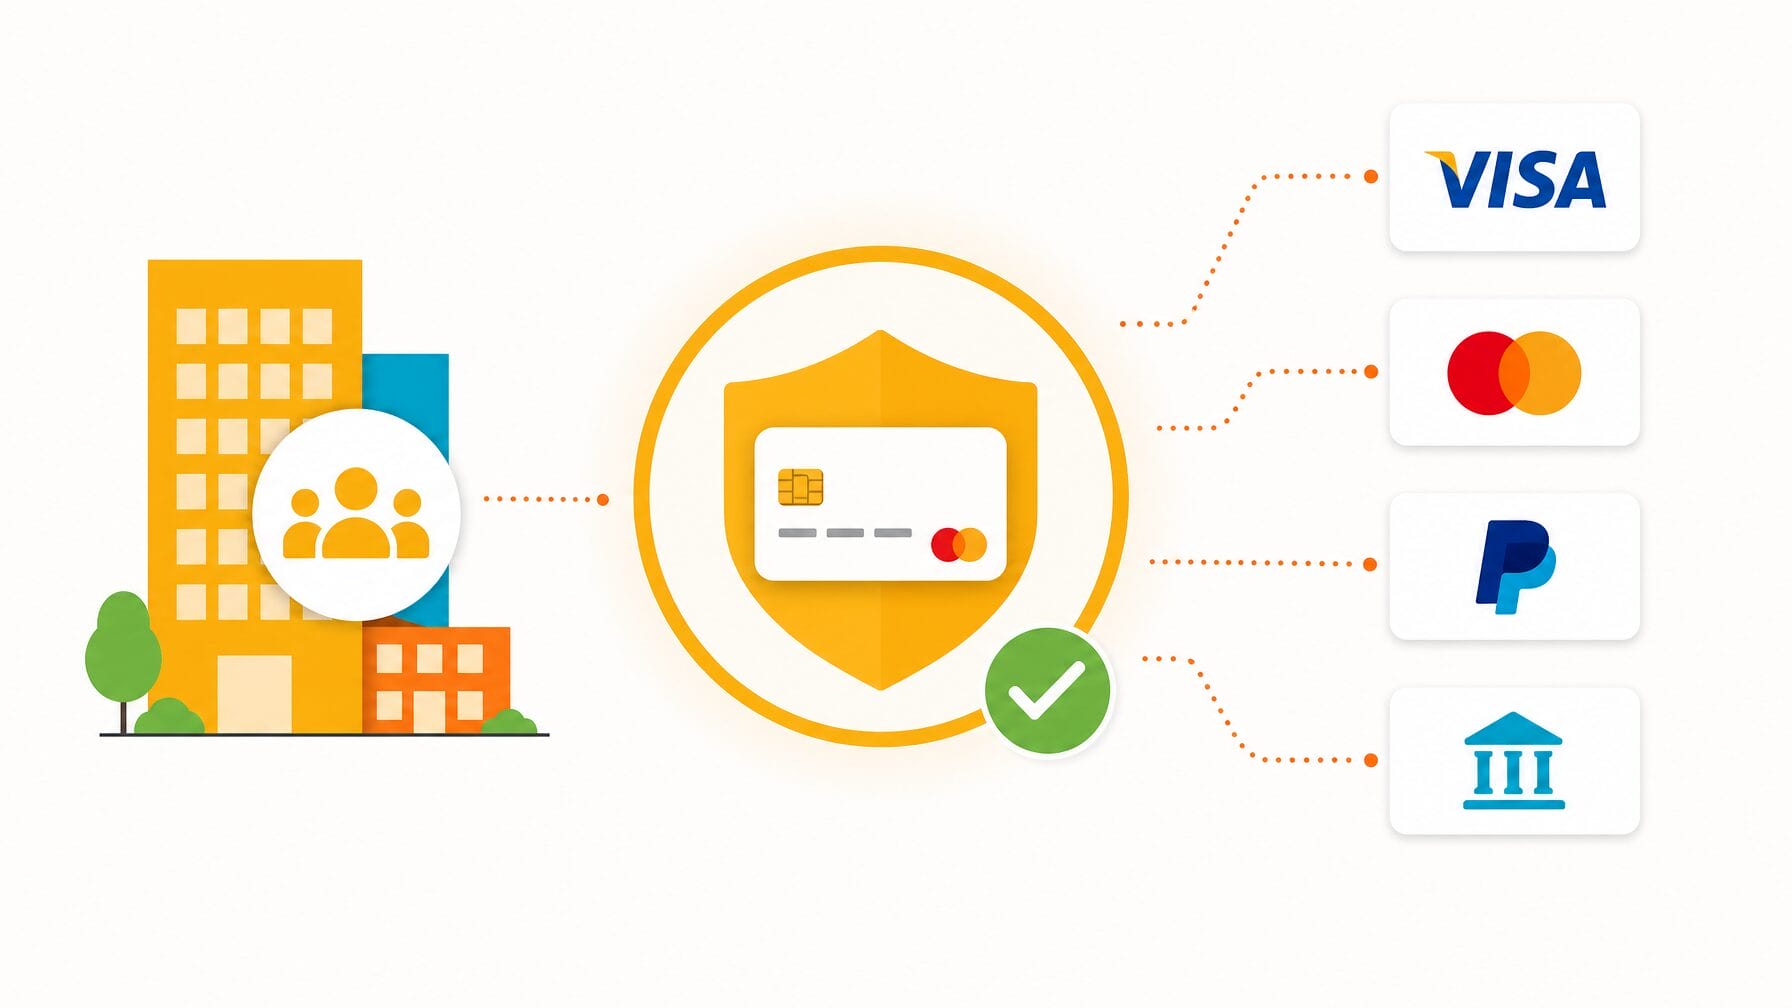
If your event has paid tickets, set up your payment gateway first. In EventMobi, payment gateways are configured once at the organization level, so the setup applies to every event you run. Doing this before anything else removes the most common source of last-minute registration problems.
Because it is configured at the organization level rather than per event, this is a one-time setup that takes most of the ongoing friction out of running paid events.
The setup involves entering your gateway credentials, confirming your currency settings, and running a test transaction to verify the connection is working. EventMobi supports seven gateways: Stripe, PayPal Payflow Pro, Braintree, Cybersource, Bambora, Moneris, and Authorize.net.
Do this first because payment configuration occasionally surfaces issues, such as incorrect credentials or currency mismatches, that take time to resolve. Discovering a gateway problem a week before go-live is manageable. Discovering it on the day registration opens is not.
If your event is free, skip this step and move to Step 2.
Which payment gateways does EventMobi support? EventMobi supports seven payment gateways: Stripe, PayPal Payflow Pro, Braintree, Cybersource, Bambora, Moneris, and Authorize.net.
Step 2: Create Your Event and Configure Tickets
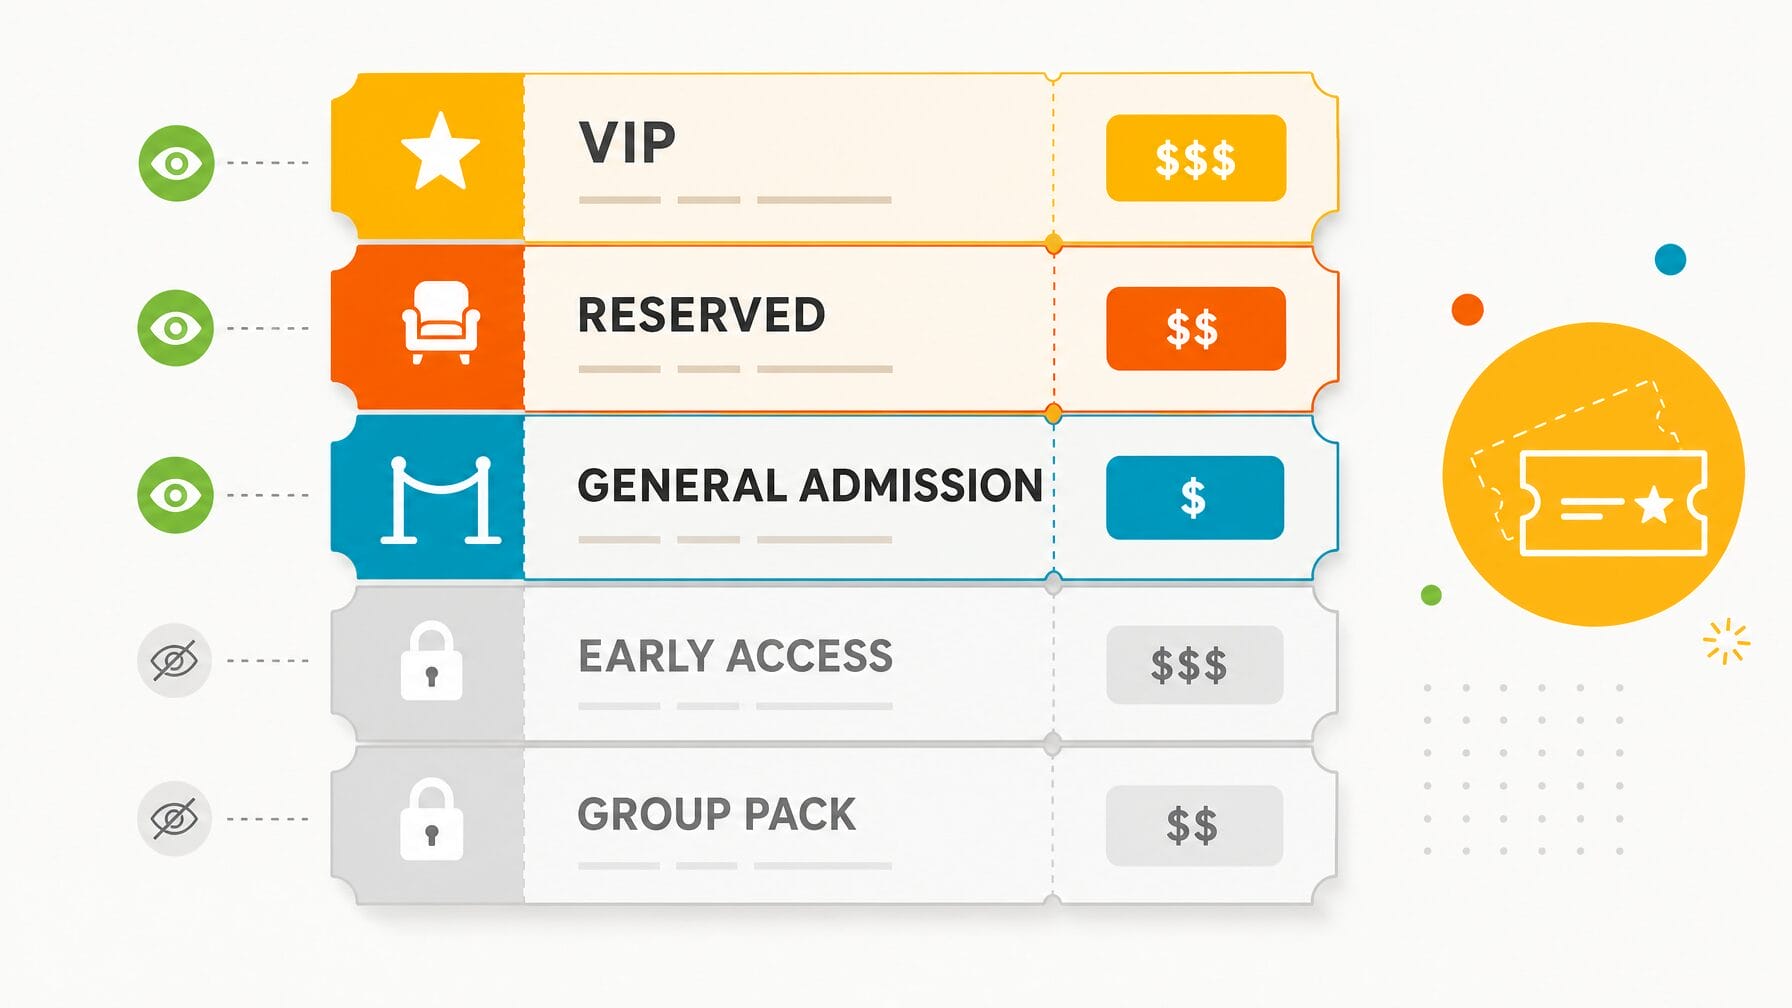
Once your gateway is ready, create your event in Experience Manager and navigate to the Registration section. This is where you configure your ticket structure before building anything else, because finalizing every ticket type now prevents rework once the form is built.
Define every ticket type you need: free, paid, early-bird, member rate, VIP, speaker, sponsor, and volunteer. For each ticket type, set the price, quantity limit, and availability window. Assign Tax and VAT rates per ticket type, if applicable.
Decide which tickets are publicly visible and which should be hidden, accessible only via promo code. Hidden ticket types are the standard approach for complimentary passes, group rates, and speaker or sponsor tickets that should not appear on the general registration form. You will create and test the promo codes for these in Step 4.
Getting the ticket structure right at this stage prevents rework later. Changes to ticket types and pricing after the form is built and tested are straightforward, but they require re-testing. Better to finalize the structure now.
Need to create the right registration experience?
Watch the EventMobi Product Tour and learn how to create the best registration experience for every attendee type.
Step 3: Build Your Registration Form
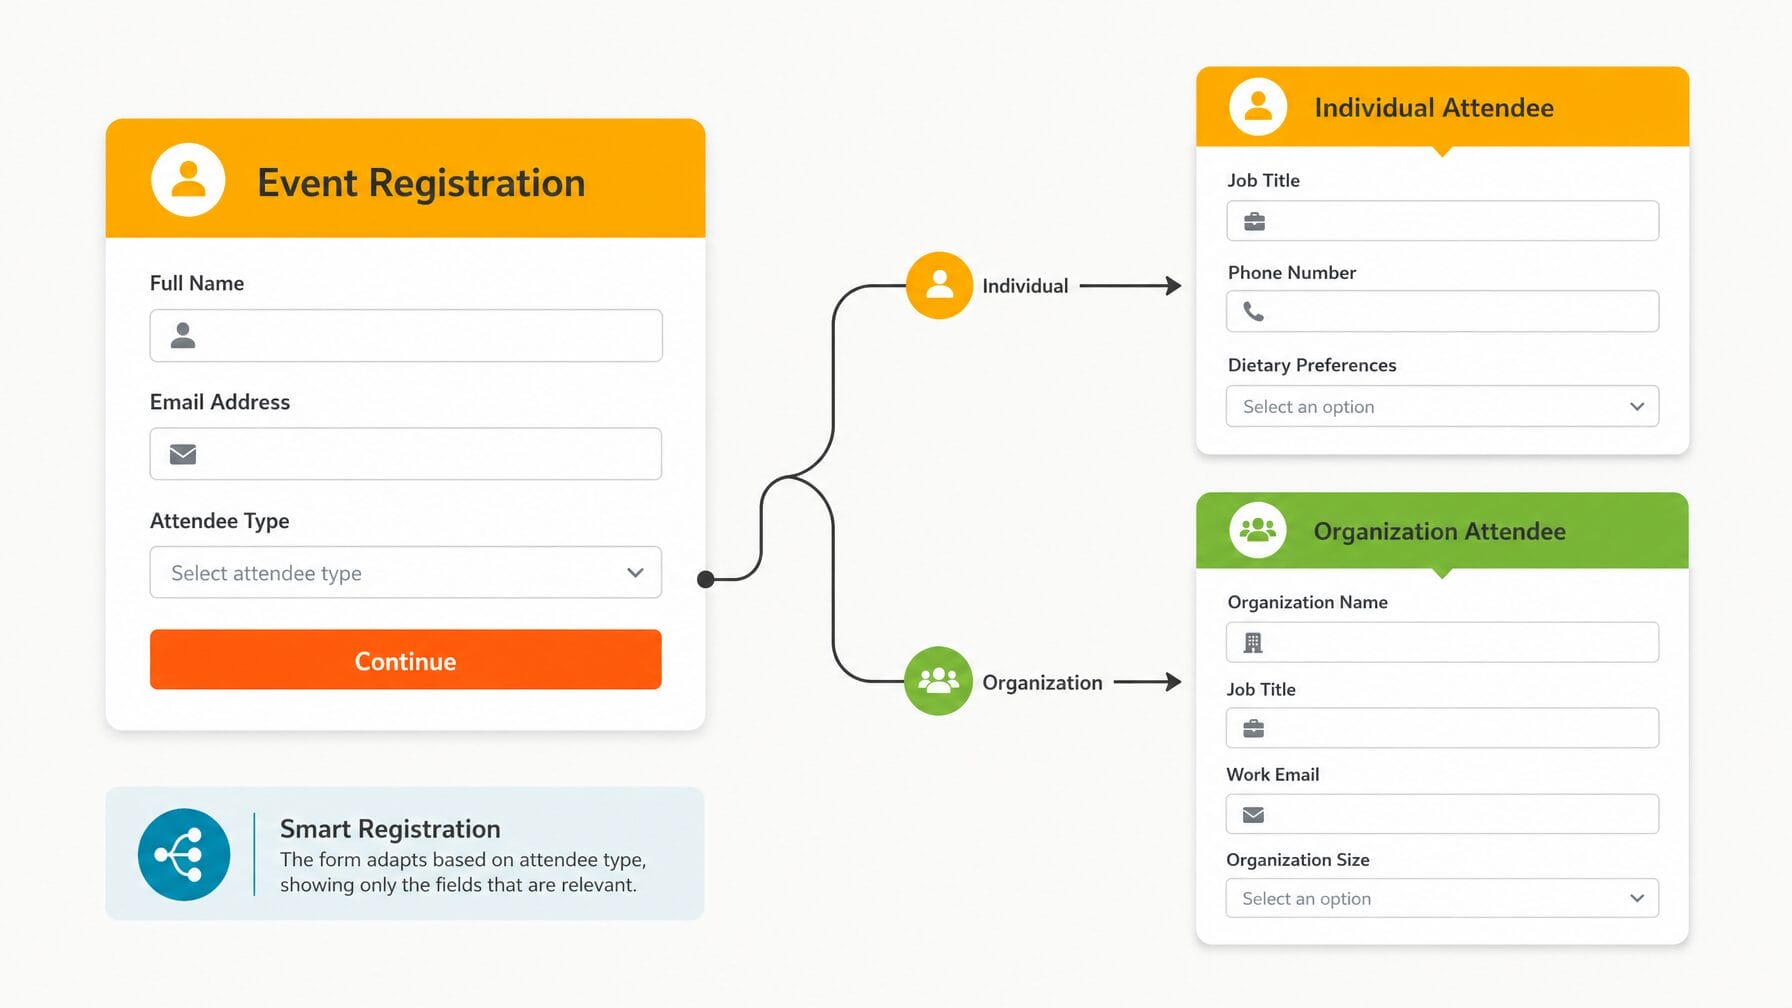
With your tickets configured, build the registration form. Start with the default fields the platform provides: name, email address, and any other standard fields relevant to your event. Add custom fields only for data you have confirmed you will actually use, whether for badge printing, email segmentation, onsite logistics, or post-event reporting.
Organize the form into sections with clear, descriptive labels. A well-organized form feels shorter than it is.
If you have multiple attendee types, configure Form Conditions to show or hide fields based on the registrant’s ticket selection or prior answers. A general attendee does not need to see speaker bio fields. A VIP does not need session track selection questions designed for general attendees. Showing each person only the fields relevant to them reduces friction and improves completion rates.
One of the most important things to know about EventMobi’s registration forms: the data collected here flows automatically into attendee profiles, badge designs, and email segmentation. There is no manual export or import step. What you collect at registration is immediately available across the platform.
How can you shorten a registration form without losing data? Use Form Conditions to show each registrant only the fields relevant to their ticket type. This reduces friction and improves completion rates while still collecting the data you need.
Step 4: Build Your Event Website
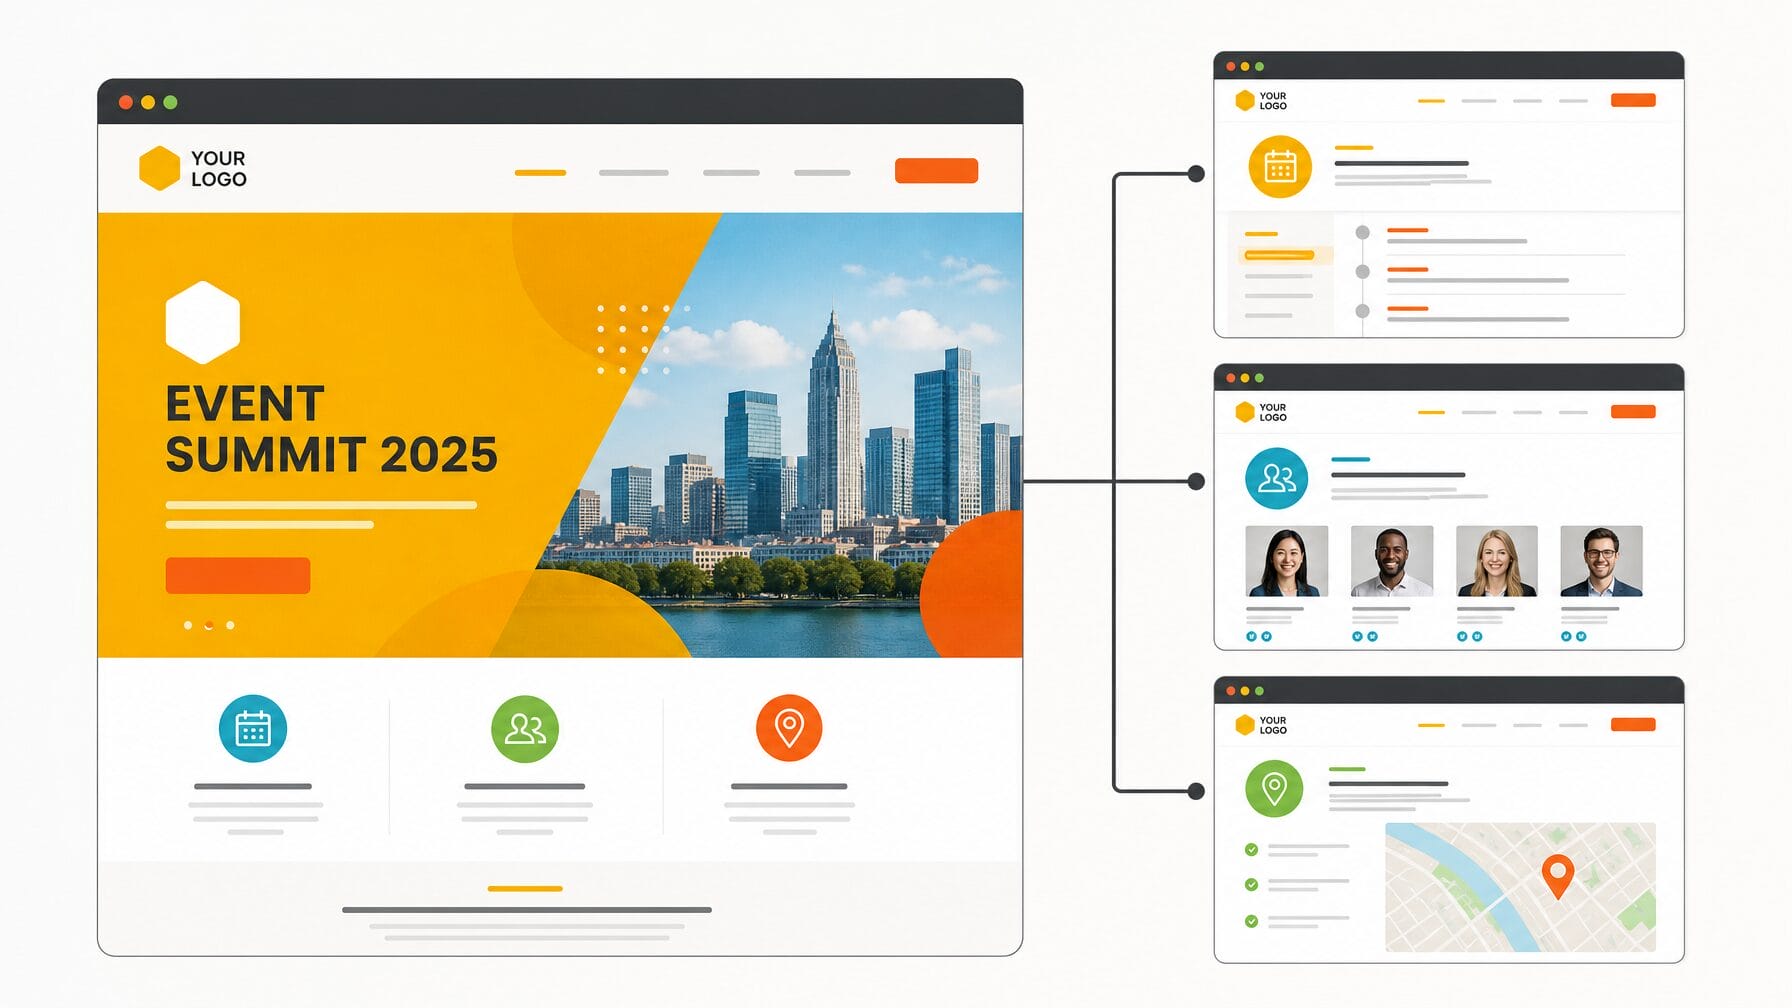
With the form built, create your event website using the Website Builder. This is where visitors will land before deciding whether to register, so the content needs to answer the questions that drive that decision: what the event is, when and where it happens, and how to sign up.
Choose a template and apply your brand colors, fonts, and logo. Then build out the pages your visitors need. At minimum: a homepage with the event name, date, location, and a clear registration call to action. For most events, you also want an agenda or program page, a speakers page, and a practical information page covering venue, accommodation, and travel details.
The Website Builder supports multi-page sites with unique URLs per page, sticky navigation menus, and synced design sections, so you can maintain visual consistency across a full event site without rebuilding design elements for each page. For content-heavy events, additional pages for sponsors, exhibitors, and FAQs are straightforward to add.
Publish the website as soon as core details are confirmed, even if some sections are still in progress. An event website that is live with placeholder content gives you a URL to promote and starts building visitor traffic earlier than a site that waits until everything is finalized.
Step 5: Configure Registration Settings
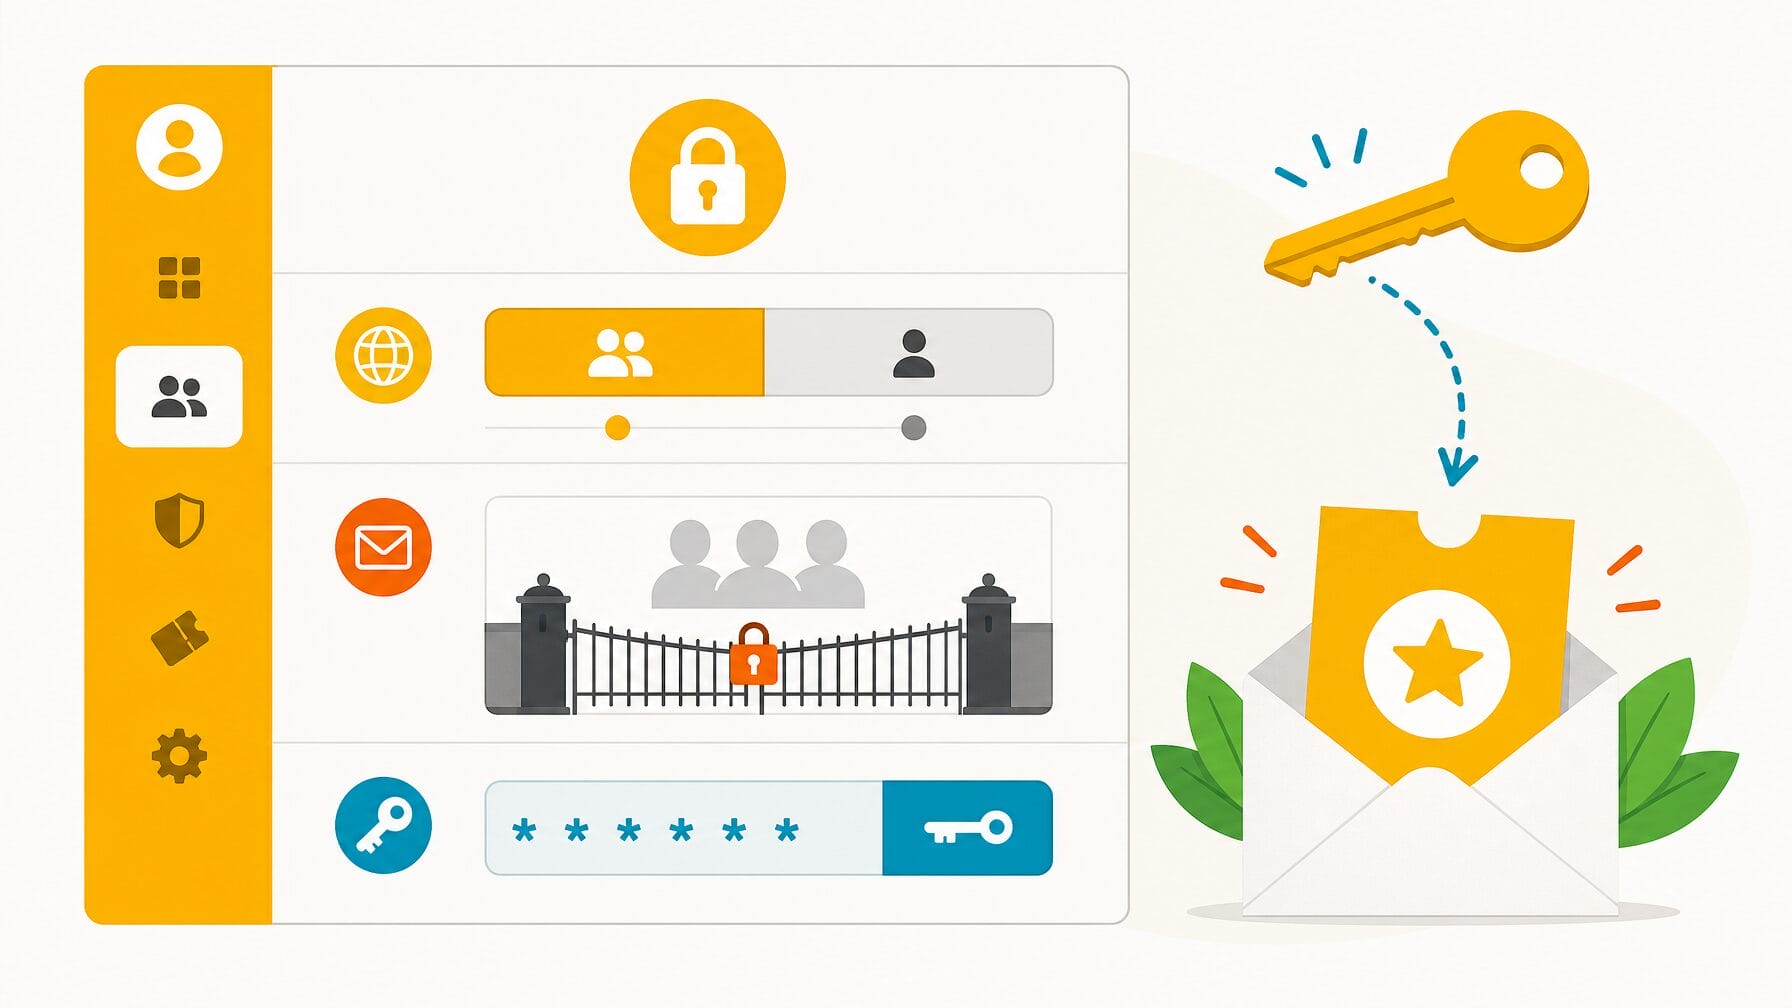
With your form and website built, configure your access settings. This is where you define who can access the registration form and under what conditions: public for open events, or private for invited guests and members only.
Set registration to public if the event is open to anyone, or private if access should be restricted to invited guests or members only. Enable the RSVP flow if you need to send private invitations and track acceptances before full registration opens. Upload your invitation list, set the RSVP deadline, and confirm the flow works correctly.
Create promo codes for any hidden ticket types you configured in Step 2. Test each promo code to confirm it reveals the correct ticket type and that the hidden tickets remain invisible without the code.
Set your registration open and close dates if applicable. These can be updated at any time, but setting them now ensures registration closes automatically at the right time without requiring manual intervention.
Step 6: Set Up the Communications Hub
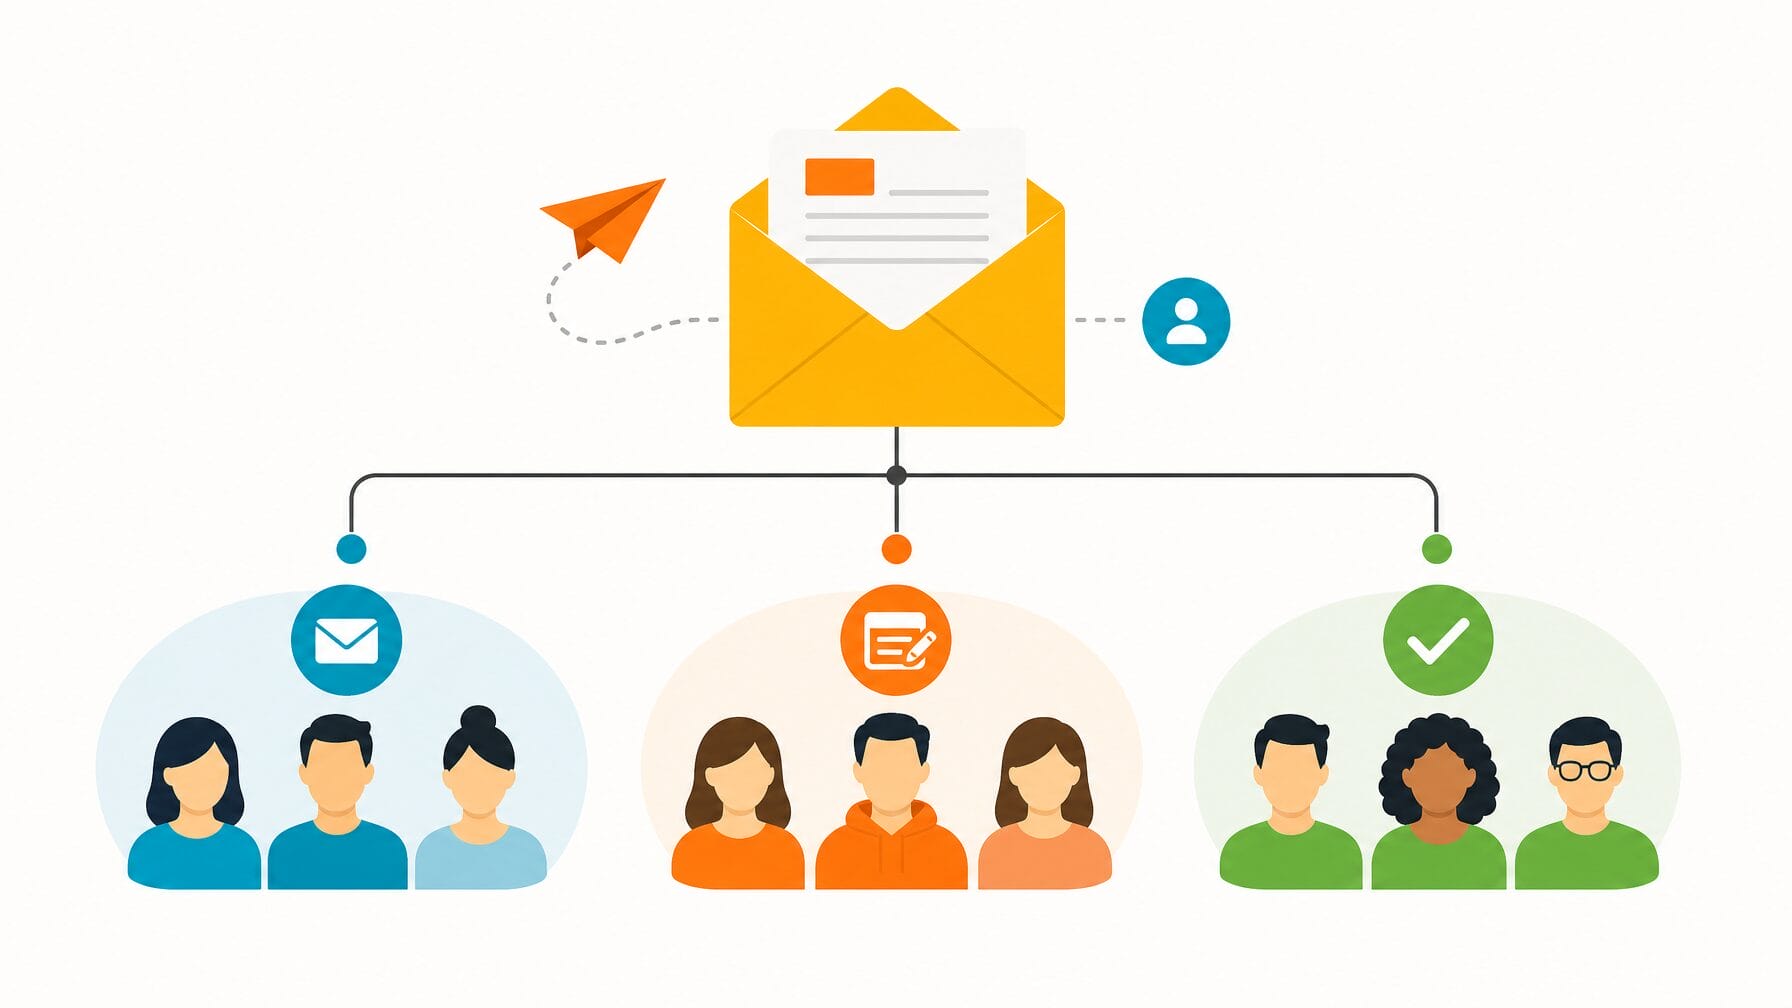
The Communications Hub is where you build and manage all email communications related to the event. Set it up before testing so you can verify the full flow, from form submission to confirmation email, as part of your end-to-end test.
Configure the confirmation email first. It should include the event name, date, location, ticket-specific information, and a clear indication of what the registrant should do next. Test it by completing a test registration and verifying that the email arrives with accurate content.
Then build your broader communications sequence. At minimum: an invitation or announcement email for when registration opens, a reminder to non-registrants, a targeted reminder to incomplete registrants, and a pre-event logistics email for confirmed attendees.
Segment each of these by registration status. The Communications Hub allows you to target campaigns by status (invited, started, completed), attendee type, and custom field values, all from within the same platform as your registration data. This means no list exports, no manual segmentation, and no risk of sending a registration reminder to someone who has already registered.
Can you email registrants based on where they are in the process? Yes. The Communications Hub segments campaigns by registration status (invited, started, completed), attendee type, and custom field values, so reminders reach only the people who still need them.
Step 7: Test End-to-End
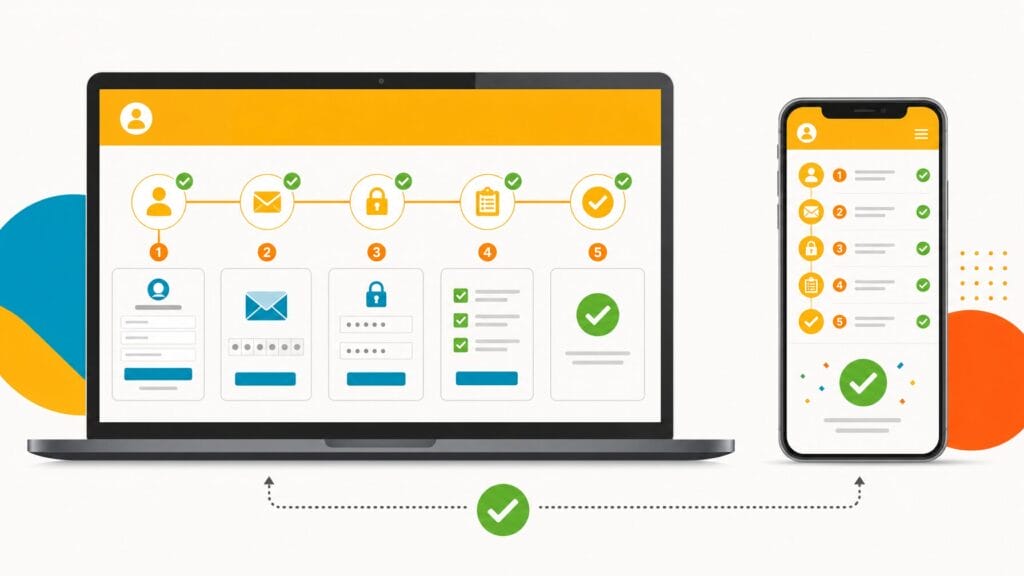
Before registration opens, test every flow completely. Do not click through forms without submitting. Complete real test registrations for every ticket type, using a real email address, and verify every step that follows. Most registration problems trace back to rushed setups that were not properly tested.
For each ticket type, confirm that the form submits correctly, the payment processes for paid tickets, the confirmation email arrives with accurate content, and the registrant appears correctly in the People section of EventMobi’s Experience Manager with the right registration status.
Test the RSVP flow end-to-end if applicable: send an invitation, accept it, confirm the registration form is accessible, then test the decline flow and confirm the form is inaccessible to declined invitees.
Test on mobile. A significant proportion of your registrants will complete registration on a phone. Test in at least two browsers. Ask a colleague to complete a test registration without any guidance and pay attention to every point of confusion they experience.
Remove all test registrations before going live.
Step 8: Enable MobiAI Reg Concierge
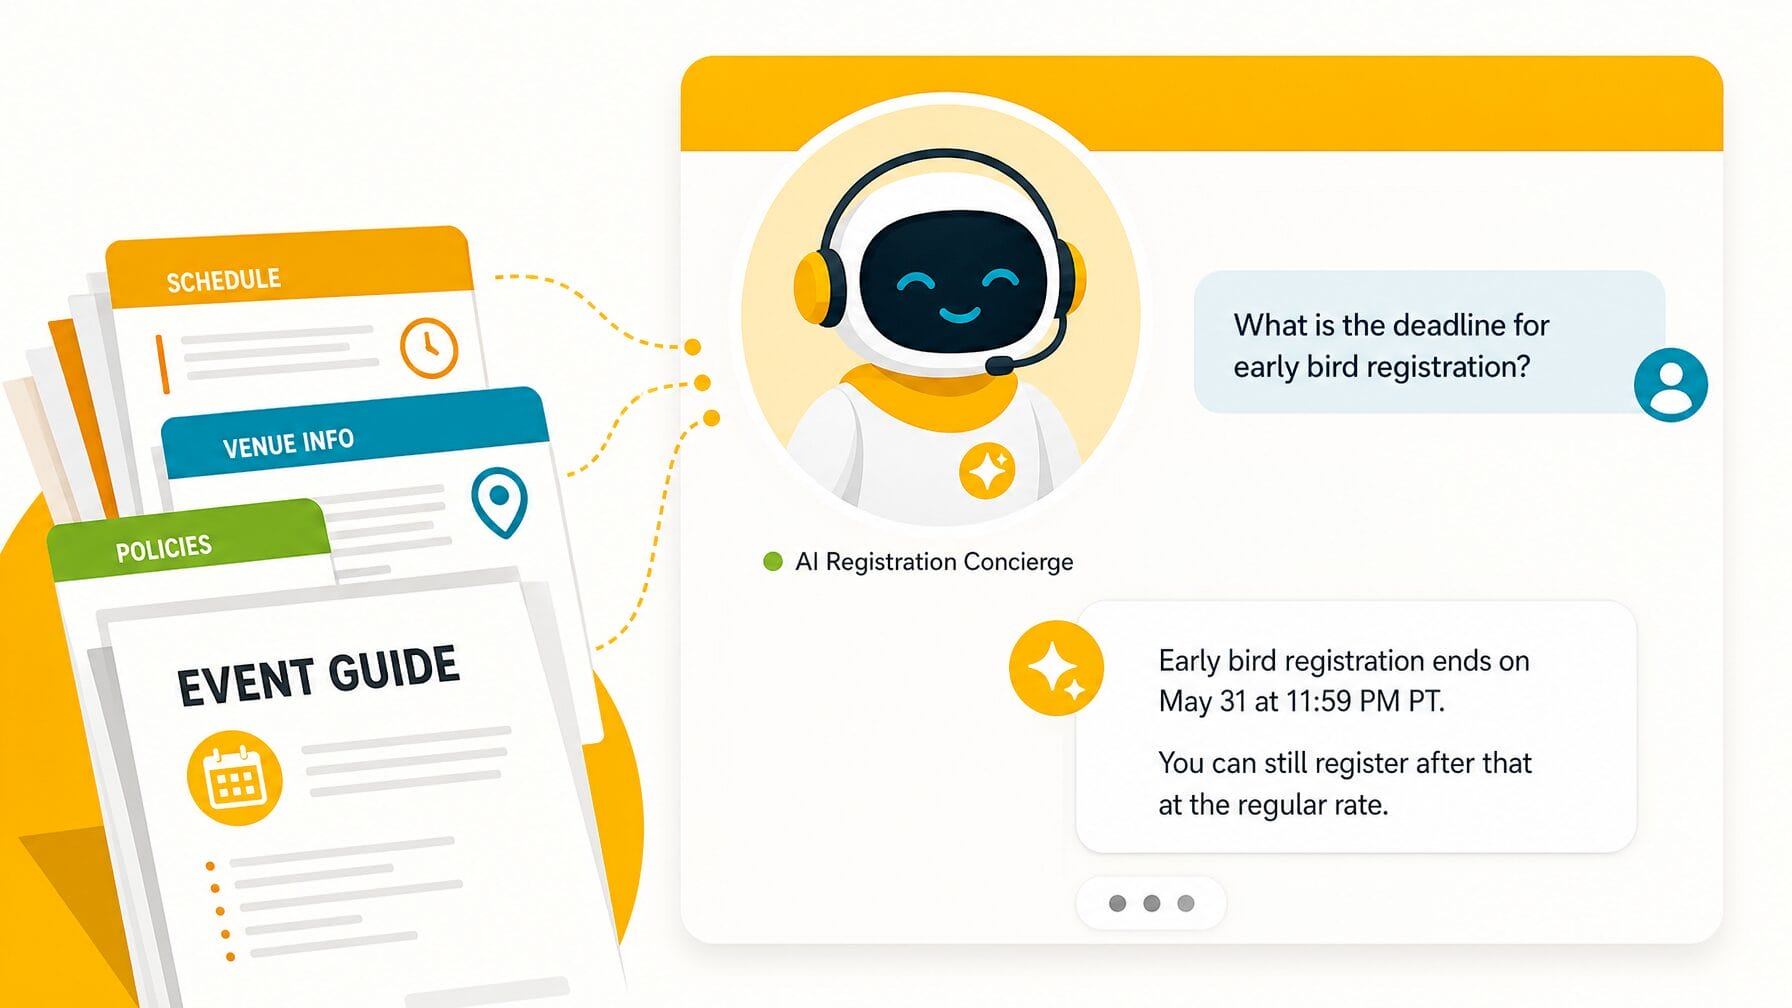
Enable MobiAI Reg Concierge last, once the registration setup is tested and ready. Enable it from the MobiAI Beta section in Experience Manager. The concierge reads your website content and ticket data automatically, so having the website and form finalized before enabling it gives it the best starting point.
Select a tone of voice that matches your event’s personality, or write a custom persona description. Configure a welcome message. Add three to five suggested questions based on what your attendees, sponsors, and speakers most commonly ask.
Upload your supporting documents: event guide, FAQ, speaker briefing, sponsor information, session details, venue logistics. The concierge learns from all of it instantly. The more complete your documentation, the better the responses.
Test the concierge by asking the questions your visitors will ask. Where responses are vague or incomplete, upload additional documentation or update the website content. Then confirm it is active before sending your first promotional email.
How Long Does Setup Take?

Setup time depends on the complexity of your event. A straightforward event with a single ticket type, a basic form, and a single-page website can be set up in a few hours. A full-featured event realistically takes one to two focused working days.
A straightforward event with a single ticket type, a basic form, and a single-page website can be set up in a few hours. A full-featured event with multiple ticket types, conditional form logic, a multi-page website, integrated email campaigns, and a configured AI concierge realistically takes one to two focused working days.
EventMobi recommends a minimum of one to two weeks between completing your setup and opening registration. This gives you time for thorough testing, internal review, and any last-minute adjustments before the first registrant arrives.
The setup process itself is rarely where event registration problems originate. They originate in rushed setups that were not properly tested. Working through these steps in order, and testing everything before going live, is the most reliable way to ensure a clean launch.
How far in advance should you finish registration setup? EventMobi recommends finishing setup at least one to two weeks before registration opens, which leaves time for thorough testing and internal review.
Want to ensure the best attendee experience—right from the get-go?
Book your demo of EventMobi’s Registration software today to see how you can effortlessly create the right registration experience for every attendee type.
The post How to Set Up Online Event Registration: A Step-by-Step Guide appeared first on EventMobi.
[ad_2]
Source_link