What you do with default conversion reporting is what separates good advertisers from bad ones.
What do your results actually mean? How many of those results come from click-through, engage-through, and view-through attribution settings? How many came from the first reported conversion, and how many came from multiple actions by the same customers?
What additional information can you uncover that isn’t visible in your default reporting? Did more conversions happen? Did leads ultimately buy weeks down the road? How many of your conversions does Meta view as Incremental?
These are important questions that can be answered once you’ve mastered two important tools:
- Breakdown by Attribution (Settings and Conversion Count)
- Compare Attribution Settings
Let’s take a closer look at the specific ways that you can use these tools to make sense of your default reporting and uncover results that were hidden.
What Do Your Conversion Results Mean?
One of the most common mistakes advertisers make is that they take their results at face value. This leads to either an overconfidence in what is reported or frustration with Meta when inconsistencies are discovered.
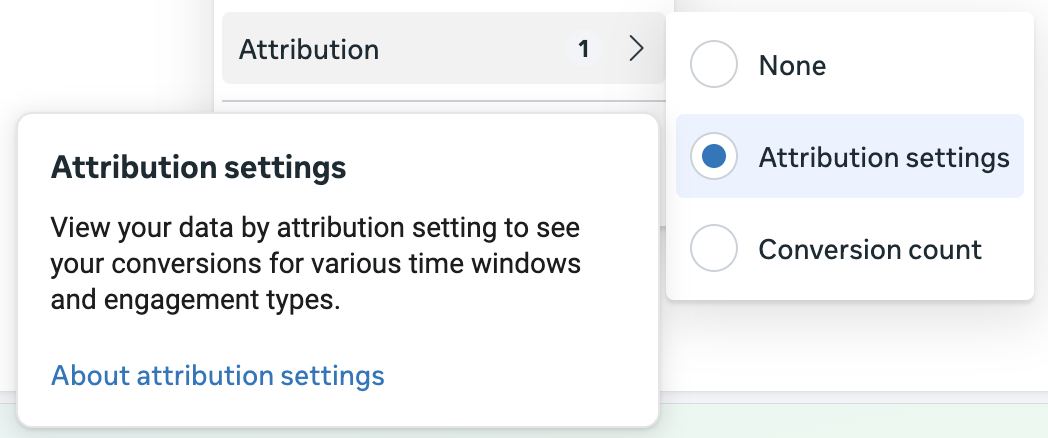
That meaning can be found with the Breakdown by Attribution Settings option.
Assuming your events are set up properly and you’ve deduplicated events that are sent from multiple sources, what appears in the Results column reflects reality. But the meaning of that reality is what you’re often missing.
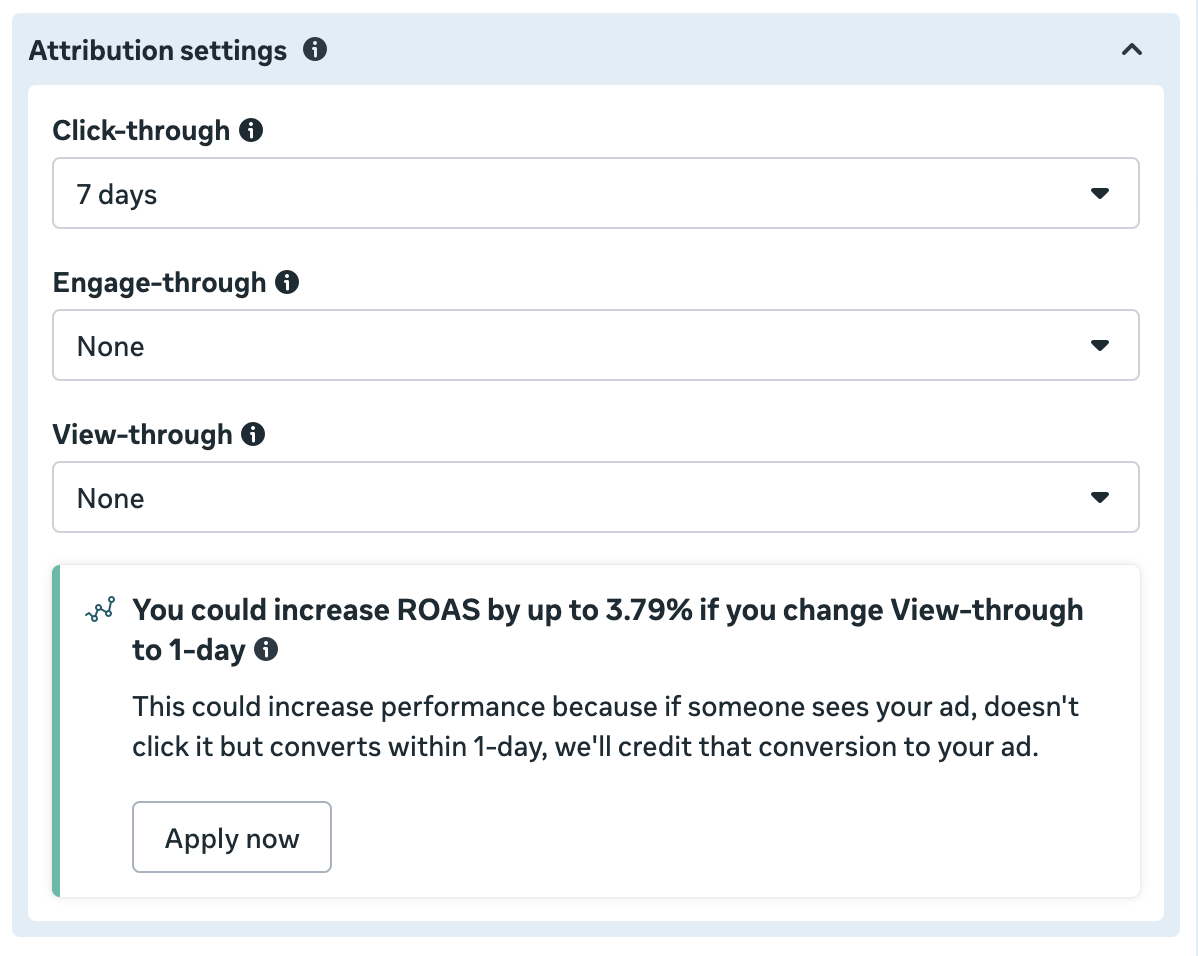
If you stick with the attribution defaults in the ad set, as most advertisers do, you use the Standard attribution model.
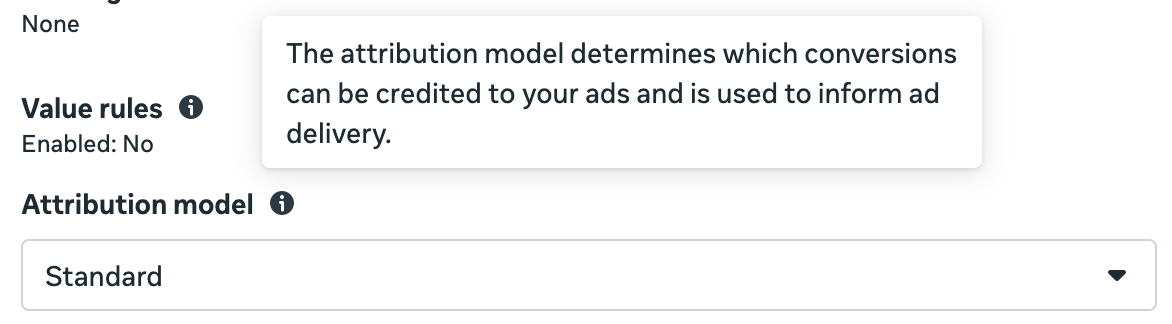
This means that Meta will give credit to your ads for conversions based on rules tied to clicks on links, clicks on other elements, and impressions that happened within designated windows prior to the conversion.
The default attribution setting under the Standard attribution model is 7-day click-through, 1-day engage-through, and 1-day view-through.
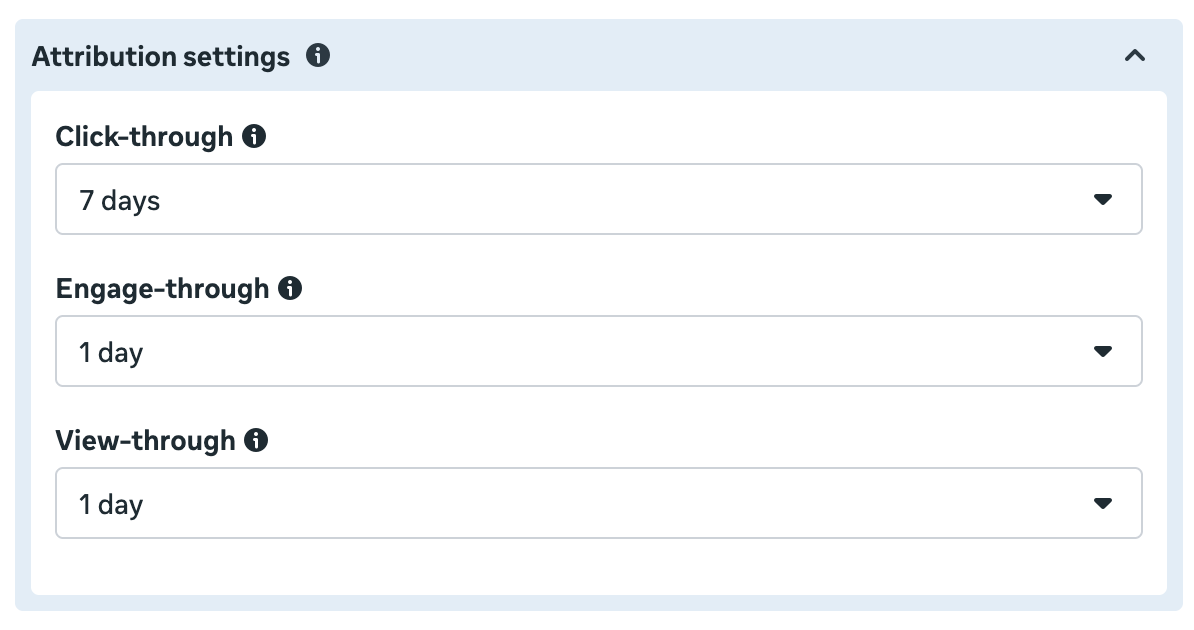
This means that Meta will report on conversions if…
1. Click-Through: Someone clicked a link on your ad and performed your desired conversion event within seven days.
2. Engage-Through: Someone clicked a non-link (like a reaction, comment, or share) or watched your video ad for at least five seconds and converted within a day.
3. View-Through: Someone was served an impression of your ad without performing a click-through or engage-through action and converted within a day.
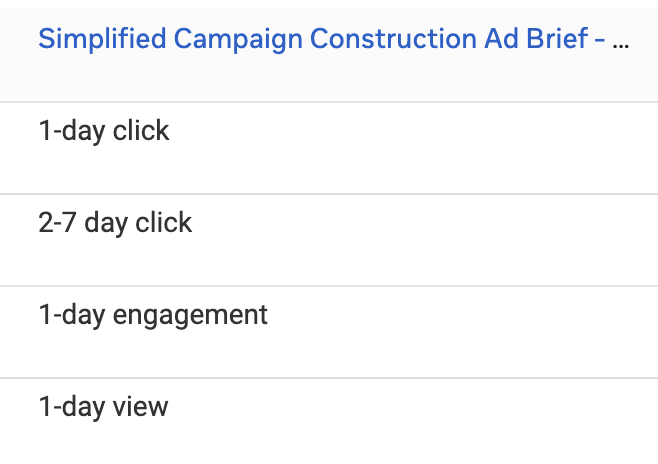
When you use the Breakdown by Attribution Settings, Meta will generate four rows:
- 1-day click
- 2-7 day click
- 1-day engagement
- 1-day view
It doesn’t matter whether you get any results for one of these settings. The rows will appear. So even if you define attribution in the ad set as 7-day click only, you will still get rows for the other settings.
Of course, you have to use the Standard attribution model to use this breakdown. If you use the Incremental attribution model, the extra rows won’t appear. The reason for this is that breakdowns segment your results to help you understand how budget or results are distributed. If you don’t use the Standard attribution model, the attribution settings do not apply to your results.
The concentration of these attribution settings in your conversion results matters. Click-through conversions are those that we can say most confidently tie to your ad. Someone clicked your ad and went to your website before converting, either within a day or up to seven days. Clearly, the sooner that happens, the more likely that it was your ad alone that drove the action.
But neither engage-through nor view-through conversions require a click on a link. While it’s possible the targeted person will go directly to your website or Google you later to complete the conversion, the more likely explanation for these results comes from other marketing channels. That doesn’t make these results worthless, but your ad needed help.
This is why it’s so important to use the Breakdown by Attribution Settings. Without it, you have no context for what your results mean.
How Many Repeat Conversions Did You Have?
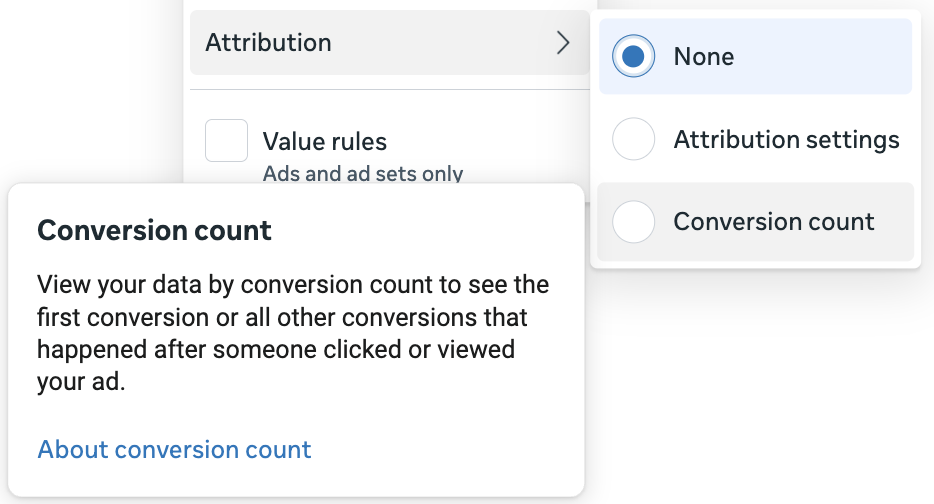
Another attribution setting that often goes missed is for Conversion Count. By default, Meta will report on all conversions that happen after someone engages with your ad.
What this means is that one person can perform multiple, separate conversions that can each be counted in your results. For example, someone can click your ad and immediately make a purchase on your website. If the attribution setting includes 7-day click, they can come back and make another purchase three days later. It will also be counted.
While I wouldn’t see this as a problem when the conversion event is a purchase (all purchases are valid, and you should value customers who perform multiple purchases), such purchase behavior could create reporting discrepancies.
Meta may report 50 purchases in Ads Manager, but you only know of 40 unique customers. That may seem like Meta is overreporting results.
This is one useful way to use the Breakdown by Conversion Count.
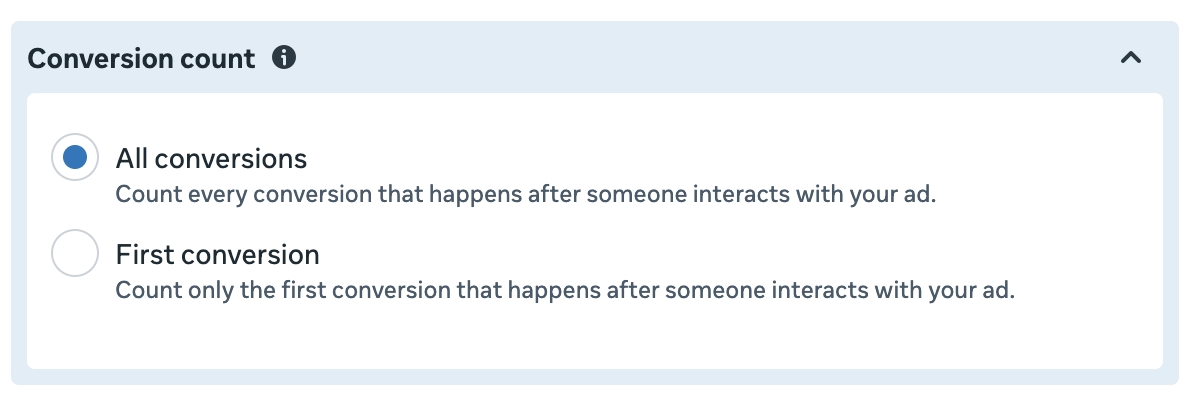
When used, Meta will generate rows for First Conversion and All Other Conversions.
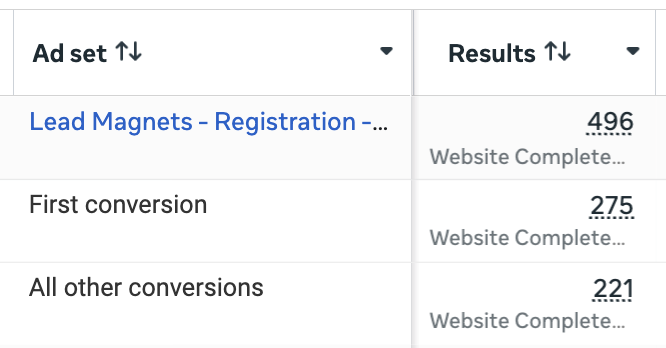
First Conversion will count only the first conversion someone completes. All Other includes the additional conversions that those people made within the attribution settings.
The example above is for a lead magnet. New registrants are given repeated options to register for another lead magnet after signing up. That’s why only 55% of the results are First Conversions.
This context obviously impacts how we view results. While it’s valuable that many of these people signed up for multiple lead magnets, the Cost Per Total Registrants is important information to know. You could even call the default results misleading without knowing that context.
What Attribution Is Hidden?
The value of Breakdowns is that they provide important context behind your conversion results. But they won’t uncover conversions based on attribution models or settings that weren’t chosen in the ad set.
That role is carried by the Compare Attribution Settings feature, which is found within the Columns dropdown menu.
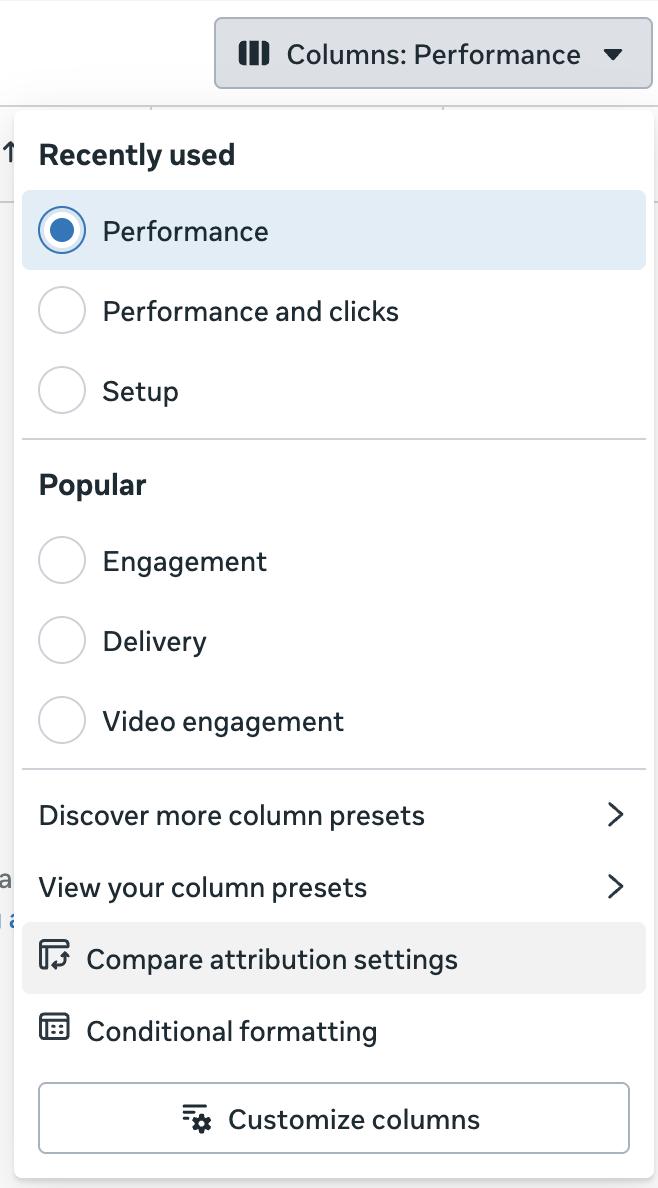
Checking boxes will add columns for individual attribution settings, models, or conversion counts.
It doesn’t matter how you defined attribution in your ad set. Columns will reflect conversions that may or may not be contained in the default results.
Here are some examples of how you might use this…
1. When you limited the Standard attribution model.
Let’s say that you defined attribution in the ad set as 1-day click only.
If you were to use the Breakdown by Attribution Settings, you would only see results that came from 1-day click. But that doesn’t mean that conversions didn’t happen from view-through, engage-through, and 7-day click attribution. They just weren’t part of your default reporting.
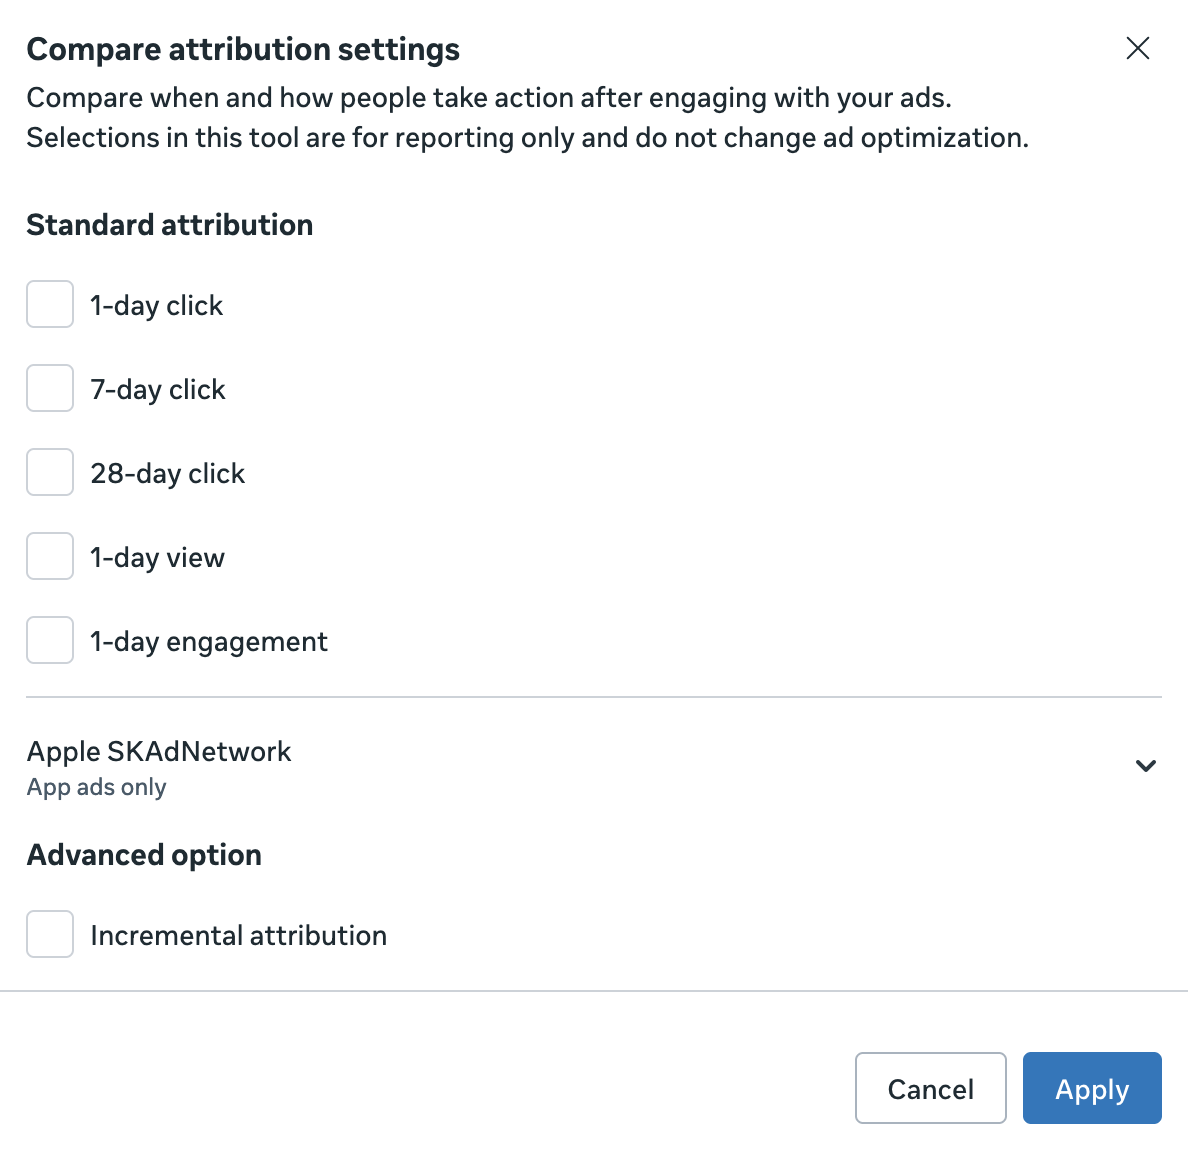
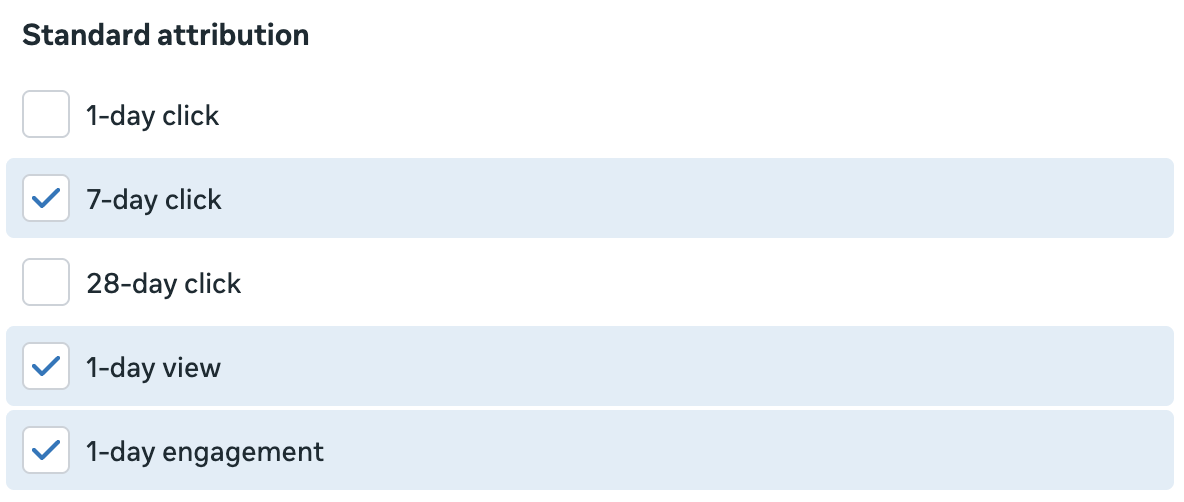
Using Compare Attribution Settings, check the boxes for 7-day click, 1-day view, and 1-day engagement. You could also check the box for 1-day click if you want, though the default Results column will be for that setting.
Then separate columns will be added for those attribution settings, which could reveal other conversions.
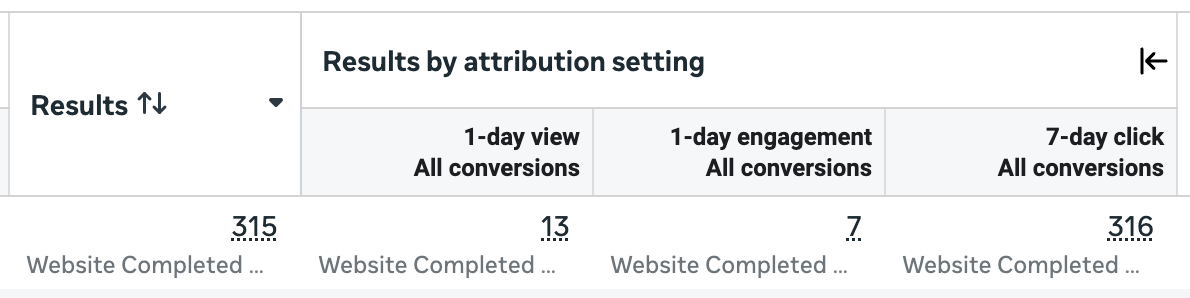
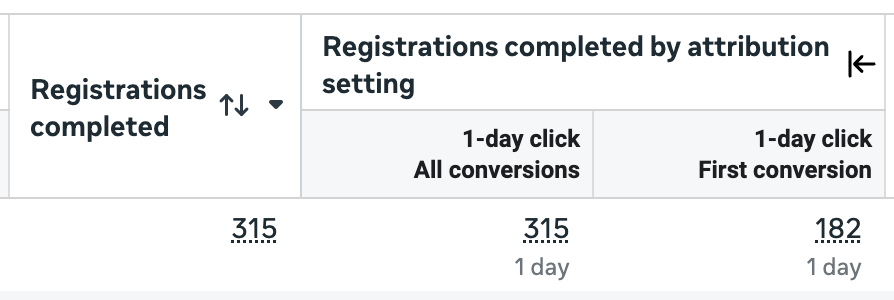
In the example above, 315 conversions were reported by default, using the 1-day click attribution setting. But 20 more were found from view-through (13) and engage-through (7). And one more conversion happened between 2 and 7 days (subtract the 1-day click total from 7-day click).
2. Uncover 28-day click conversions.
The younger advertisers may not remember this, but Meta’s original attribution setting years ago was 28-day click and 1-day view. The iOS 14 changes put an end to that, but Meta did bring 28-day click attribution back for reporting purposes.
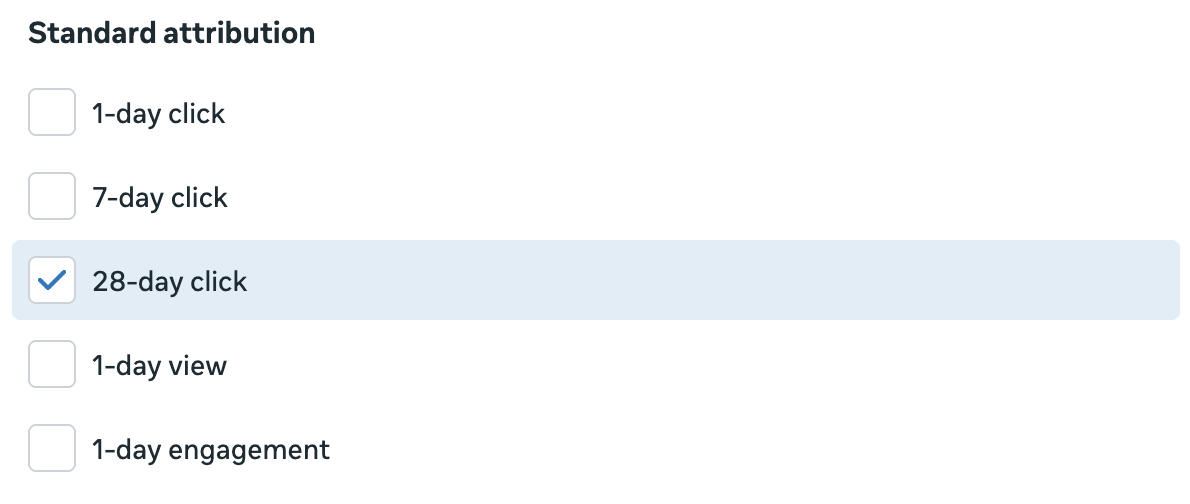
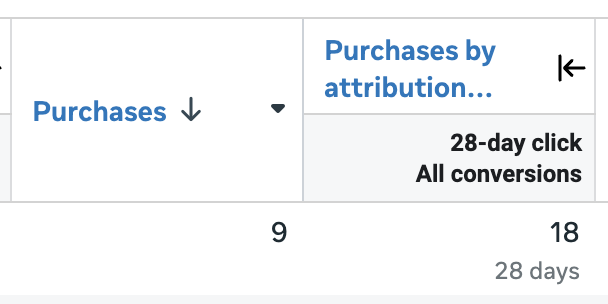
I find this extremely valuable for situations where the goal conversion event of an ad set wasn’t a purchase. For example, you may be running a leads campaign and want to get a sense of how many leads purchased within 28 days. Adding a column for 28-day click can help uncover that information.
3. View an alternate attribution model.
As explained earlier in this post, the Breakdown by Attribution Settings won’t work if you defined the attribution model as Incremental in the ad set.
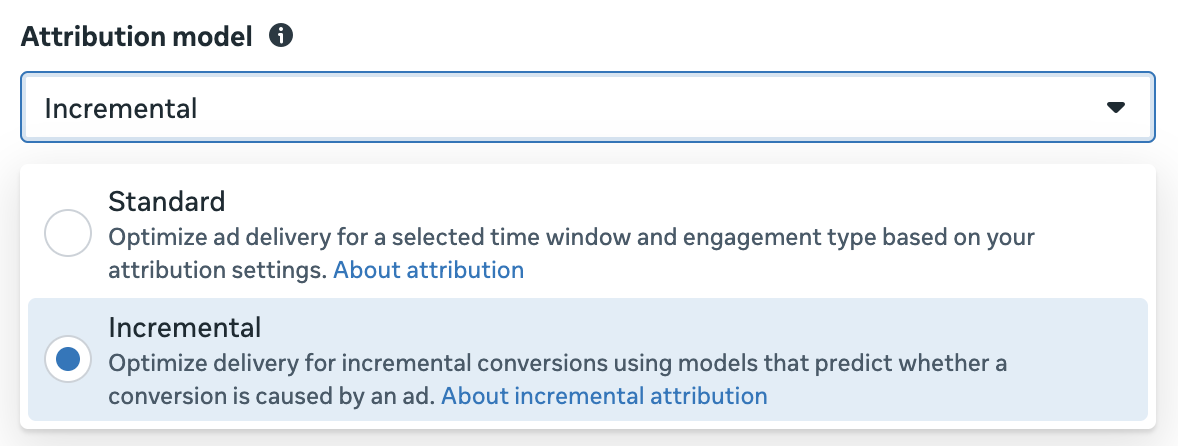
The reason for this is that Incremental Attribution doesn’t utilize click-through, engage-through, and view-through attribution settings. Instead, Meta uses complex models to determine whether an ad drove a conversion.
But that doesn’t mean that Meta can’t report on those attribution settings. When using Compare Attribution Settings, select the windows that you want to view.

The same can be done if you chose the default Standard attribution model in the ad set. You can view results that came from the Incremental attribution model if it’s selected when using this feature.

Incremental results tend to be more conservative, if not more accurate, than those found using the default Standard attribution model. These steps can help provide that alternate view.
4. View an alternate Conversion Count.
Meta also allows you to define the Conversion Count in the ad set for optimization and default reporting purposes. If you don’t touch it, Meta will report all conversions that qualify. You could then make use of the Breakdown by Conversion Count, as discussed earlier, to view how many of those results were First conversions versus “all other” conversions.
But if you defined Conversion Count in the ad set to only count First conversions, that breakdown option won’t reveal any data for the second row. You could find it using Compare Attribution Settings.
Once you check any of the attribution settings boxes, options will come up to “Choose Conversion Count.”
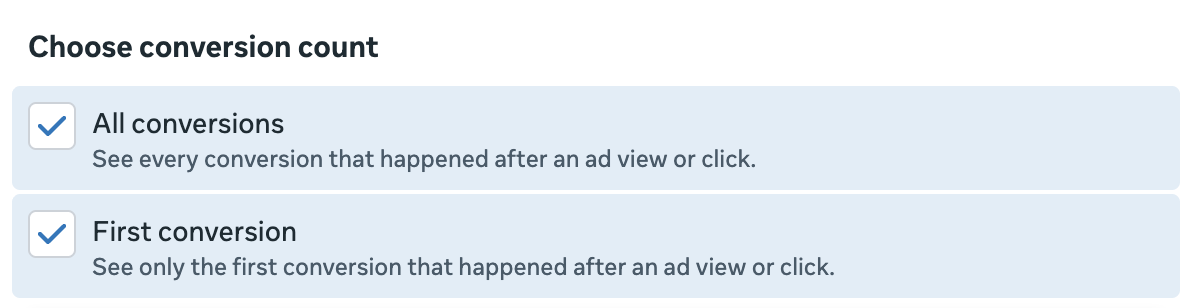
Meta will then generate separate columns for each selected attribution setting and First conversion, All conversions, or both.
More Data, Better Data, and Better Decisions
One of the biggest mistakes you can make as an advertiser is to rely solely on Meta’s default reporting. It’s not that these results are wrong or that Meta is lying, despite what many will claim. It’s just that those results require important context.
You need to know what your results actually mean. Breakdown by Attribution can help spot problems related to a heavy concentration of results in view-through or engage-through attribution. When you know this, you can make adjustments and report on your results more accurately.
The Compare Attribution Settings feature allows you to highlight data that may not appear in your default results. This can help you tell a broader story about the impact of your ads.
Use these tools daily. You will make better decisions based on more accurate information.
Your Turn
How do you use these tools to highlight better data?
Let me know in the comments below!