Are you spending way too much time creating Pinterest content? If you’re jumping between design tools and scheduling platforms, constantly downloading and uploading files, you’re making Pinterest marketing way harder than it needs to be.
There’s a much smarter approach that combines the design power of Canva with Tailwind’s Pinterest expertise to create a streamlined workflow that saves you hours each week.
Canva and Tailwind integration has revolutionized how smart marketers approach Pinterest. Instead of treating design and scheduling as separate tasks, using Canva with Tailwind creates one seamless process that takes you from initial design concept to published Pin in minutes, not hours.
Why Use Canva and Tailwind Together?
Think of Canva as your creative studio and Tailwind as your marketing assistant.
Canva gives you the design tools to create stunning, Pinterest-optimized visuals that catch people’s attention as they scroll through their feeds. It’s packed with Pinterest templates, fonts, and design elements that make professional-looking Pins accessible to anyone, regardless of their design background.
Tailwind, on the other hand, is your Pinterest marketing powerhouse. It handles the strategic side — scheduling your Pins at optimal times, managing your content across multiple boards, and providing analytics to show you what’s actually working.
When you combine these two platforms, you get the best of both worlds: beautiful, engaging content created efficiently in Canva, paired with Tailwind’s proven scheduling and optimization strategies. This combination eliminates the tedious back-and-forth between platforms and creates more time for what really matters: growing your business.
The biggest benefit? You can create a week’s worth of Pinterest content in under an hour, then let automation handle the rest. No more daily scrambling to post content or forgetting to maintain your Pinterest presence. Your Pinterest marketing runs on autopilot while you focus on other priorities.
Step 1 – Design Pinterest-Optimized Content in Canva
Your Pinterest success starts with creating Pins that people actually want to save and click on. Canva makes this process incredibly straightforward, especially when you understand a few key principles about what performs well on Pinterest.
Start by setting up Pinterest-specific templates in Canva. Use the 2:3 aspect ratio (1000×1500 pixels) that Pinterest recommends for maximum visibility. Vertical images with an aspect ratio of 2:3 or shorter were by far most prevalent in the viral Pins data set, so stick with vertical designs for the best results.
Here’s the smart approach: Create 5-10 base templates that reflect your brand style, then customize them for different content pieces. Save your brand colors, fonts, and logo elements in Canva so you can maintain consistency across all your Pins without starting from scratch every time.
Take advantage of Canva’s Pinterest template library, but don’t just use them as-is. The most successful Pinterest marketers customize these templates to match their unique brand personality. 60% of the viral Pins with designed images appear to have been created using Tailwind Create or a similar tool, which suggests that efficient design tools that optimize for Pinterest best practices tend to produce better results than overly complex design processes.
Focus on creating clear, readable text overlays that communicate your content’s value at a glance. Remember, people scroll through Pinterest quickly, so your Pin needs to grab attention and clearly communicate what someone will get if they click through to your content.
Step 2 – Use the Tailwind Canva App (Integration)
Here’s where the magic happens…and where most Pinterest marketers miss a huge opportunity. Instead of designing in Canva, downloading your images, then uploading them to Tailwind, you can send images to Tailwind from Canva, using the official Tailwind App in Canva.
The power of Tailwind is a teensy tiny click away from wherever you are on the web. This integration eliminates multiple steps from your workflow and reduces the chance of losing files or forgetting to schedule content.
The Tailwind Canva app lets you access Tailwind’s AI and scheduling tools within Canva. You can create, edit, and customize your Pin designs, then immediately move them into your publishing queue. This means no more switching between browser tabs, no more downloading and re-uploading files, and no more losing track of which designs you’ve already scheduled.
This integration is particularly powerful when you’re batch-creating content. You can design multiple variations of the same Pin concept, test different headlines or color schemes, and immediately schedule them to different boards or time slots. The seamless workflow encourages experimentation, which is crucial for discovering what resonates with your audience.
Step 3 – Upload or Publish Designs to Tailwind
Whether you’re using the integrated Tailwind app within Canva or uploading designs you’ve created separately, getting your content into Tailwind’s scheduler is where your Pinterest strategy really takes shape.
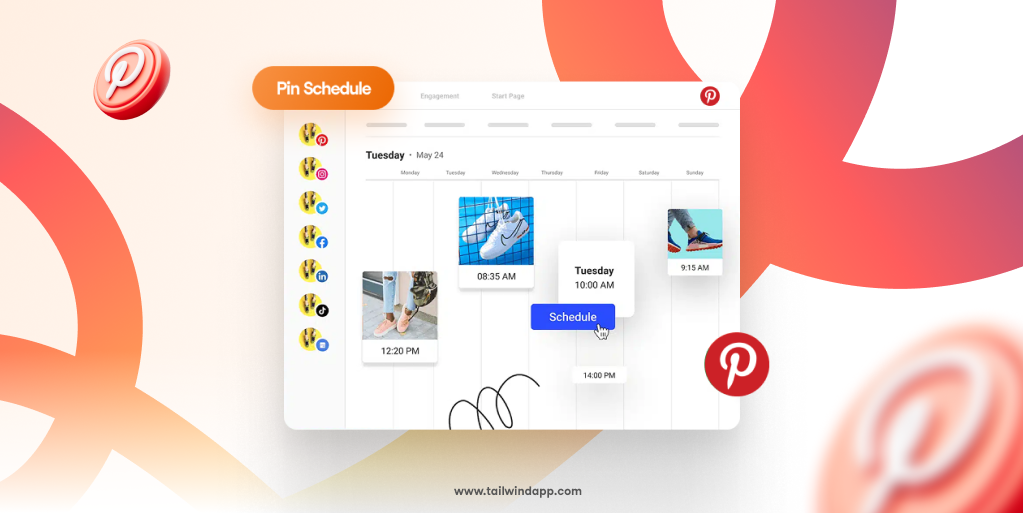
Tailwind’s drag-and-drop scheduling interface makes it incredibly easy to organize your content. You can upload multiple designs at once, then quickly assign them to relevant boards with just a few clicks. The platform’s board list feature lets you send a Pin to multiple boards simultaneously, maximizing your content’s reach without manual repetition.
Tailwind SmartSchedule recommends best times to publish, taking the guesswork out of timing your Pins. Instead of trying to figure out when your audience is most active, SmartSchedule analyzes your account’s specific performance data and recommends optimal posting times tailored to your content and audience.
The bulk editing features are where Tailwind really shines for efficiency. You can upload a batch of related Pins, then edit their titles, descriptions, and board assignments all at once. This is particularly useful when you’re promoting the same blog post or product with multiple Pin variations because you can customize each Pin while maintaining consistent messaging and links.
Step 4 – Automate Fresh Pin Creation with SmartPin
This is where your Canva and Tailwind workflow really starts paying dividends. Tailwind SmartPin automatically creates Fresh Pins for your blog posts, products, or pages every single week. Each SmartPin is completely unique, with a new design, title, and description tailored to perform well on Pinterest.
SmartPin takes your existing content and continuously creates new ways to promote it on Pinterest. Instead of manually designing and posting Pins for the same blog post over and over, SmartPin handles this automatically. You just review the ready-to-go Pins, approve the ones you like, and Tailwind handles everything else — from posting at optimal times to tracking performance.
The beauty of this automation is that it solves the “content freshness” challenge that many Pinterest marketers face. You don’t need to constantly create new content to maintain Pinterest visibility. SmartPin ensures your best content keeps getting fresh exposure to new audiences.
Cool Ways to Use Canva + Tailwind Together
Now that you understand the basic workflow, let’s explore some creative strategies that successful Pinterest marketers use to maximize their results with these two platforms.
Batch Design + Schedule Strategy
Set aside one afternoon each month to create all your Pinterest content. Use Canva to design 75-150 Pins based on your upcoming blog posts, products, or seasonal content.
Then upload everything to Tailwind at once and let SmartSchedule distribute them throughout the month. I schedule 300 Pinterest Pins every month, and I do it in one hour. This level of efficiency is possible when you batch your work and automate the distribution.
Seasonal Campaign Automation
Create seasonal templates in Canva for holidays, back-to-school, summer planning, or other recurring themes in your niche. Save these templates and reuse them each year, updating the images and text to reflect current trends.
Schedule these seasonal campaigns well in advance using Tailwind. Pinterest users are always planning ahead, so getting your holiday content published early gives you a competitive advantage.
Content Recycling System
Your best blog posts and products deserve ongoing promotion, not just a one-time Pinterest post. Use Canva to create multiple design variations for your top-performing content, then use Tailwind to schedule them months apart. This ensures your best content continues reaching new audiences without looking repetitive.
A/B Testing Made Easy
Create multiple versions of the same Pin in Canva — try different headlines, color schemes, or image focuses. Schedule these variations through Tailwind and use the analytics to see which designs generate the most saves, clicks, and traffic. This data-driven approach helps you refine your design strategy over time.
Best Practices for Canva + Tailwind Workflow
To get the most out of your Canva Tailwind integration, follow these proven strategies that top Pinterest marketers swear by.
Keep Your Canva Templates Organized
Create folders in Canva for different types of content; e.g. blog posts, products, seasonal campaigns, quotes, etc. This organization makes it much faster to find the right template when you’re batch-creating content. Name your templates clearly so you can quickly identify which ones work best for different purposes.
Upload Consistently for SmartSchedule Efficiency
SmartSchedule works best when you maintain a consistent queue of content. Try to upload new Pins to Tailwind weekly rather than sporadically. This gives the algorithm more data to work with and ensures your optimal posting times remain accurate as your audience grows and changes.
Track Performance and Adjust
Use Tailwind’s analytics to see which of your Canva designs perform best. Look for patterns in color schemes, text styles, or image types that generate the most engagement. Then apply these insights to create even better templates in Canva. 87 of the top 100 hex codes identified as dominant colors in Pin images were white, near white or some shade of light grey, so don’t be afraid of lighter color palettes in your designs.
Final Thoughts
The combination of Canva and Tailwind creates a Pinterest marketing system that’s both creative and strategic. Canva ensures your content looks professional and engaging, while Tailwind ensures that content reaches the right people at the right times.
Using Canva with Tailwind isn’t just about convenience; it’s about creating a sustainable Pinterest strategy that doesn’t consume all your time and energy. When you can design beautiful Pins efficiently and schedule them strategically, Pinterest marketing becomes a powerful traffic-driving tool rather than a daily chore.
The most successful Pinterest marketers aren’t necessarily the most creative or the most technical — they’re the ones who build systems that work consistently over time. The Canva Tailwind integration gives you that system, combining the best design tools with proven Pinterest best practices.
Whether you’re just starting with Pinterest marketing or looking to scale your existing efforts, this workflow will help you create more engaging content in less time while achieving better results. Start with the basic integration, then experiment with the advanced strategies as you become more comfortable with the process.
Your Pinterest success isn’t just about creating great content — it’s about getting that content in front of the right audience consistently. With Canva and Tailwind working together, you have everything you need to make that happen.

The post How to Use Tailwind and Canva Together: Creative Ways to Streamline Your Pinterest Marketing appeared first on Tailwind Blog.


