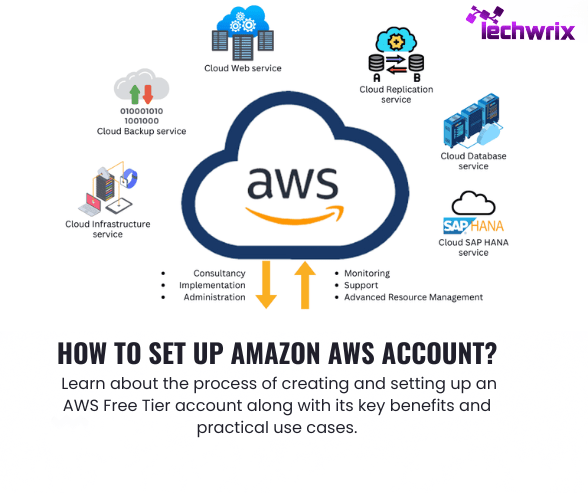
Amazon Web Services (AWS) is a leading cloud platform that offers on-demand computing power, databases, storage, and a wide range of other services. Users can choose from an extensive catalog of AWS offerings and pay only for what they use, with no upfront costs for most services. While individual AWS services may have certain limitations, they can be easily connected within the right architecture to build powerful, scalable, and reliable applications.
In this article, we’ll guide you through the process of creating and setting up an AWS Free Tier account along with its key benefits and practical use cases.
Read Also: How to Convert Virtual Machines from VMware to VirtualBox?
Step-by-Step Guide to AWS Account Free Tier Setup
Amazon offers a variety of services through the AWS Free Tier, each with specific usage limits, allowing you to gain experience and a deeper understanding of AWS Cloud services. The primary goal of the AWS Free Tier is to provide free access to core AWS offerings which enables you to learn how to effectively use these services.
Remember that You won’t be charged for any AWS services as long as your usage stays within the Free Tier limits. To avoid unexpected charges, make sure to stop or delete any services once you’ve completed your practice.
Here is step by step guide to create an account
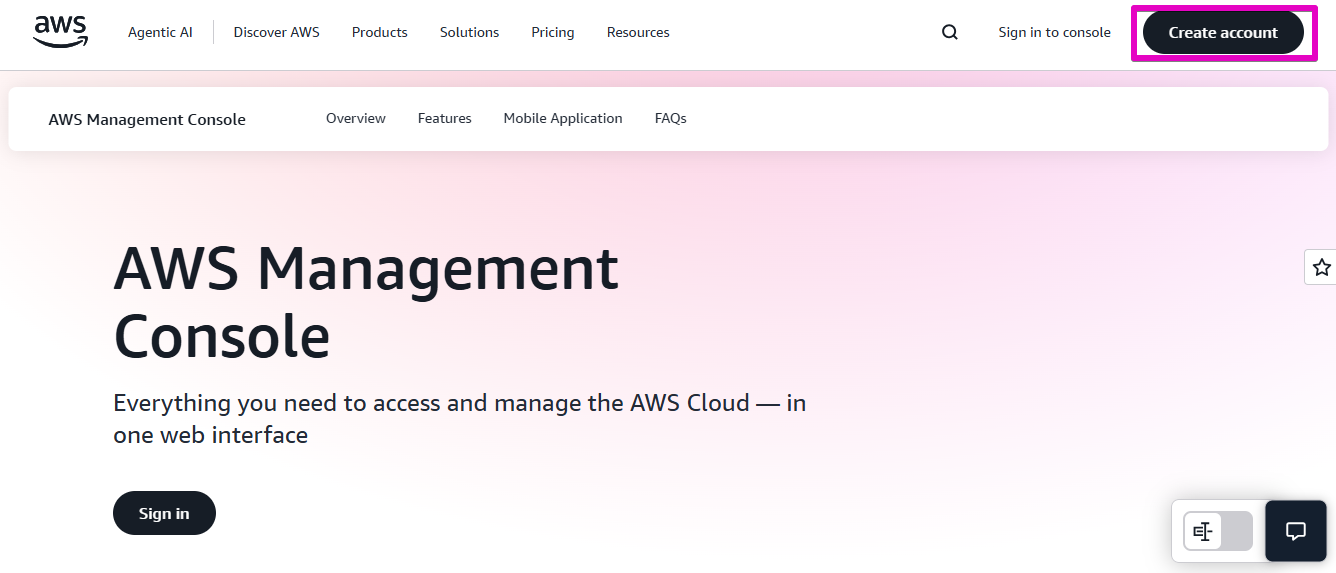
Step 1: Open your web browser and search for “AWS Login Console“. Click on the first link that appears in the search results.

Step 2: Once the AWS Console opens, click on “Create an AWS Account” to begin the registration process.
Step 3: You’ll be redirected to the sign-in page. Click on “New to AWS or Sign Up” to proceed.

Step 4: Enter your email address and choose an account name. Click “Verify Email Address” and a code will be sent to your email.
Enter the verification code, then create a secure password. Click “Verify” to proceed.


Next, create a secure password for your account. Once done, click “Continue” to proceed to the next step.

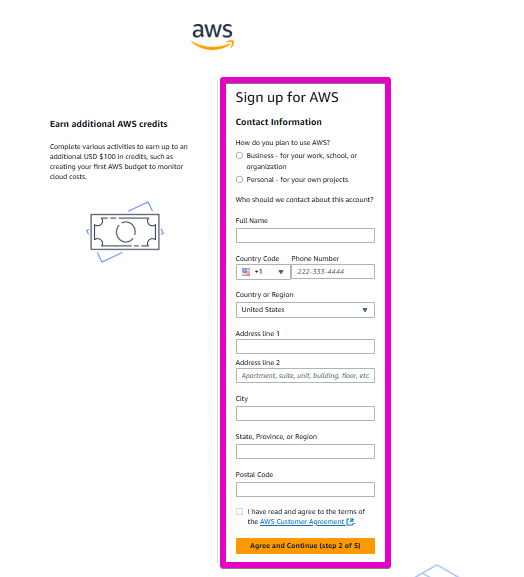
Step 5: Fill in your contact details including your name, phone number and address. This information helps AWS support connect with you if needed.
Step 6: Add your credit or debit card details. Don’t worry, AWS won’t charge anything unless you choose to upgrade or exceed Free Tier usage. A temporary charge (e.g., $1) may appear for identity verification.

Step 7: Choose your verification method Text Message (SMS) or Voice Call and complete the CAPTCHA. Click “Send SMS”, then enter the code you receive and click “Continue.”

Step 8: Select the Basic Support Plan, which is free and recommended for new users. This includes:
- 24/7 access to self-service resources
- Access to the AWS Personal Health Dashboard
- No cost
Click “Complete Sign Up.”

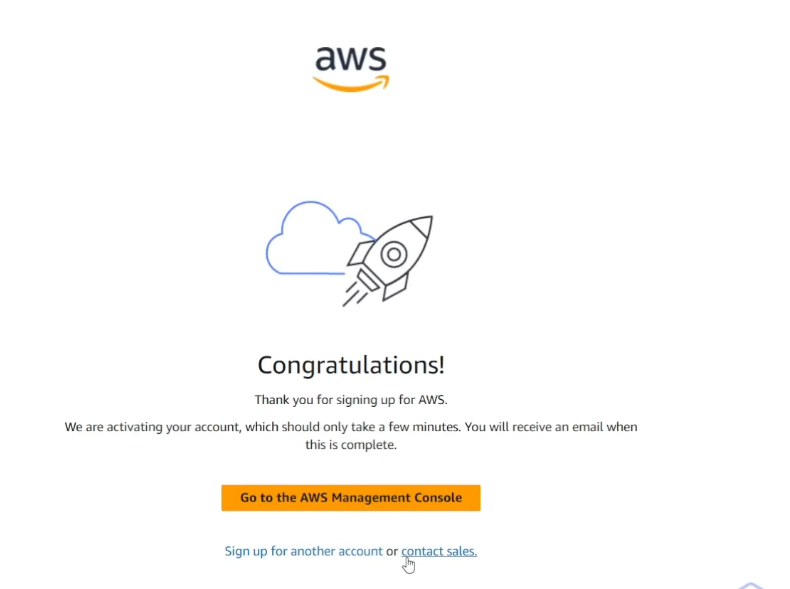
Step 9: You’ll see a “Congratulations” message confirming your account setup.
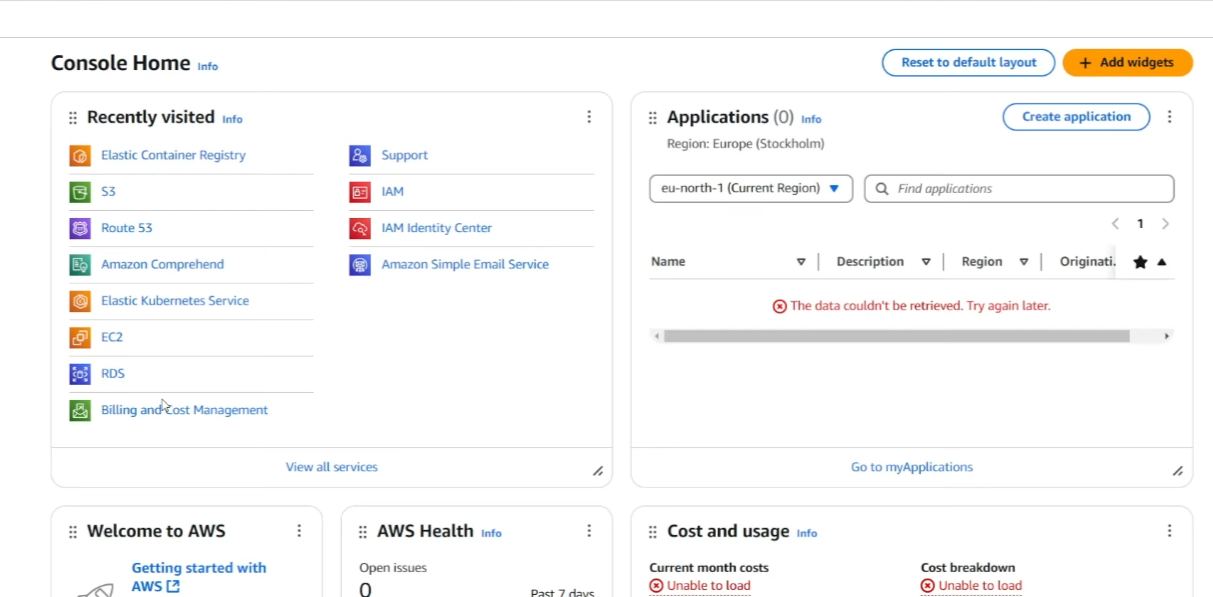
Step 10: Click “Sign in to the Console”, then enter your email and password to access the AWS Management Console.

You’ll now see the AWS Console homepage where you can start exploring AWS services such as EC2, VPC, Auto Scaling, and many others.
Benefits of Signing Up for AWS Account Free Tier
Real-Time Cloud Practice: The AWS Free Tier allows you to explore cloud services in a real-world and risk-free environment. It’s especially beneficial for beginners who are new to AWS and cloud computing.
Explore Multiple Cloud Services: AWS offers access to a broad selection of services under the Free Tier, enabling you to understand the practical applications of cloud computing.
Test Application Scalability: You can deploy their applications on AWS to test performance across different environments and workloads, helping them understand how their apps scale in the cloud.
Free Hosting for Small Projects: As long as they stay within the Free Tier limits, you can host small-scale applications on AWS at no cost, perfect for prototypes, MVPs and personal projects.
Budget Friendly Learning: Newbie can experiment with various AWS services without worrying about charges, making it an ideal and cost-effective way to learn.
Read Also: Installing Proxmox VE 8.1 on VMware Workstation 17
Use Cases for AWS Free Tier Services
Learning Opportunities
Students, educators, and professionals new to AWS can use the Free Tier to gain practical, hands-on experience. It helps you explore and understand AWS infrastructure, services, and best practices in a real-world environment.
Code, Test and Iterate
Developers can leverage the Free Tier to build, test, and experiment with applications in various environments all without any cost. This is ideal for debugging, performance checks, and iterative development.
Build MVPs
For startups and entrepreneurs, the AWS Free Tier provides a cost-effective platform to develop prototypes or Minimum Viable Products (MVPs), helping bring early ideas to life without upfront investment.
Certification Preparation
Students and professionals preparing for AWS certifications can fully utilize Free Tier services to practice and strengthen their knowledge before the exam.
Conclusion
The AWS Free Tier Account offers an excellent opportunity for anyone to explore and experiment with AWS services at no cost for the first 12 months. It grants access to popular services like EC2, S3, and RDS, enabling you to learn, test and build applications without the worry of immediate charges.
Whether you’re a student, developer, or entrepreneur, it offers hands-on access to a wide range of AWS services to build, test, and deploy real-world applications. From learning new skills to launching small projects or preparing for certifications, the Free Tier empowers you to experiment and innovate freely. Setting up an account is simple and it opens the door to endless possibilities in the world of cloud technology .